 Materials
– Outer -58″ Casa Collection poly organza in “Ginger” (Discontinued color from JoAnn) – you can get rust organza almost anywhere. The mirror organza looks best IMO because it gives it a watery/shimmery effect.
– Inner – 45″ Gold/Black liquid lamé fabric
– SureLock overlock thread in orange (closest I could find to rust)
– Gütermann serger thread in black (I had this on hand)
– Gütermann Poly thread in Rust (two spools)
- I had to buy twice as much of the liquid lamé as I normally would have because the back side of the fabric was of course black and Zuul’s dress is metallic on both sides. It’s also a black/gold lamé in the pics, not a bright cheap looking gold lamé. A lot of people use the cheap looking stuff. :\ —-If you use the one sided, double up your inner fabric pieces.
Pattern
I drafted the pattern for this dress myself using the measurements provided to me by the customer. The following graphic depicts how I roughly drew the patterns out.
Pattern

UPDATE – I have since reworked the basic pattern graphic. It is not to scale so you do have to draw out the pattern yourself. I recommend using contractor paper. I’ve added the shoulder/neckline measurement and removed the right side slit (It’s not canon).
Alternatively, for the top instead of cutting it on the fold you can cut FOUR pieces of the outer and inner fabric and have a seam down the middle. Just add an additional 1/2″ to the side where you would normally cut it on the fold. It appears to be the way the dress was originally made, but I prefer it to not have the seam. It’s cleaner IMO.
I also added cuffs to the sleeves and a 2 1/2″ wide sash belt that I didn’t draw a pattern for. I just literally cut strips of each fabric 2 3/4″ wide and serged all of the edges. I used two pieces of the gold so that the gold would show through the rust and on the back side.
Top Construction
I cut out all of the pieces and serged the fronts together (one organza and one lamé). I left the bottom hems of the sleeves and neckline unserged for the time being. I did baste stitch the neckline pieces to prevent fraying.
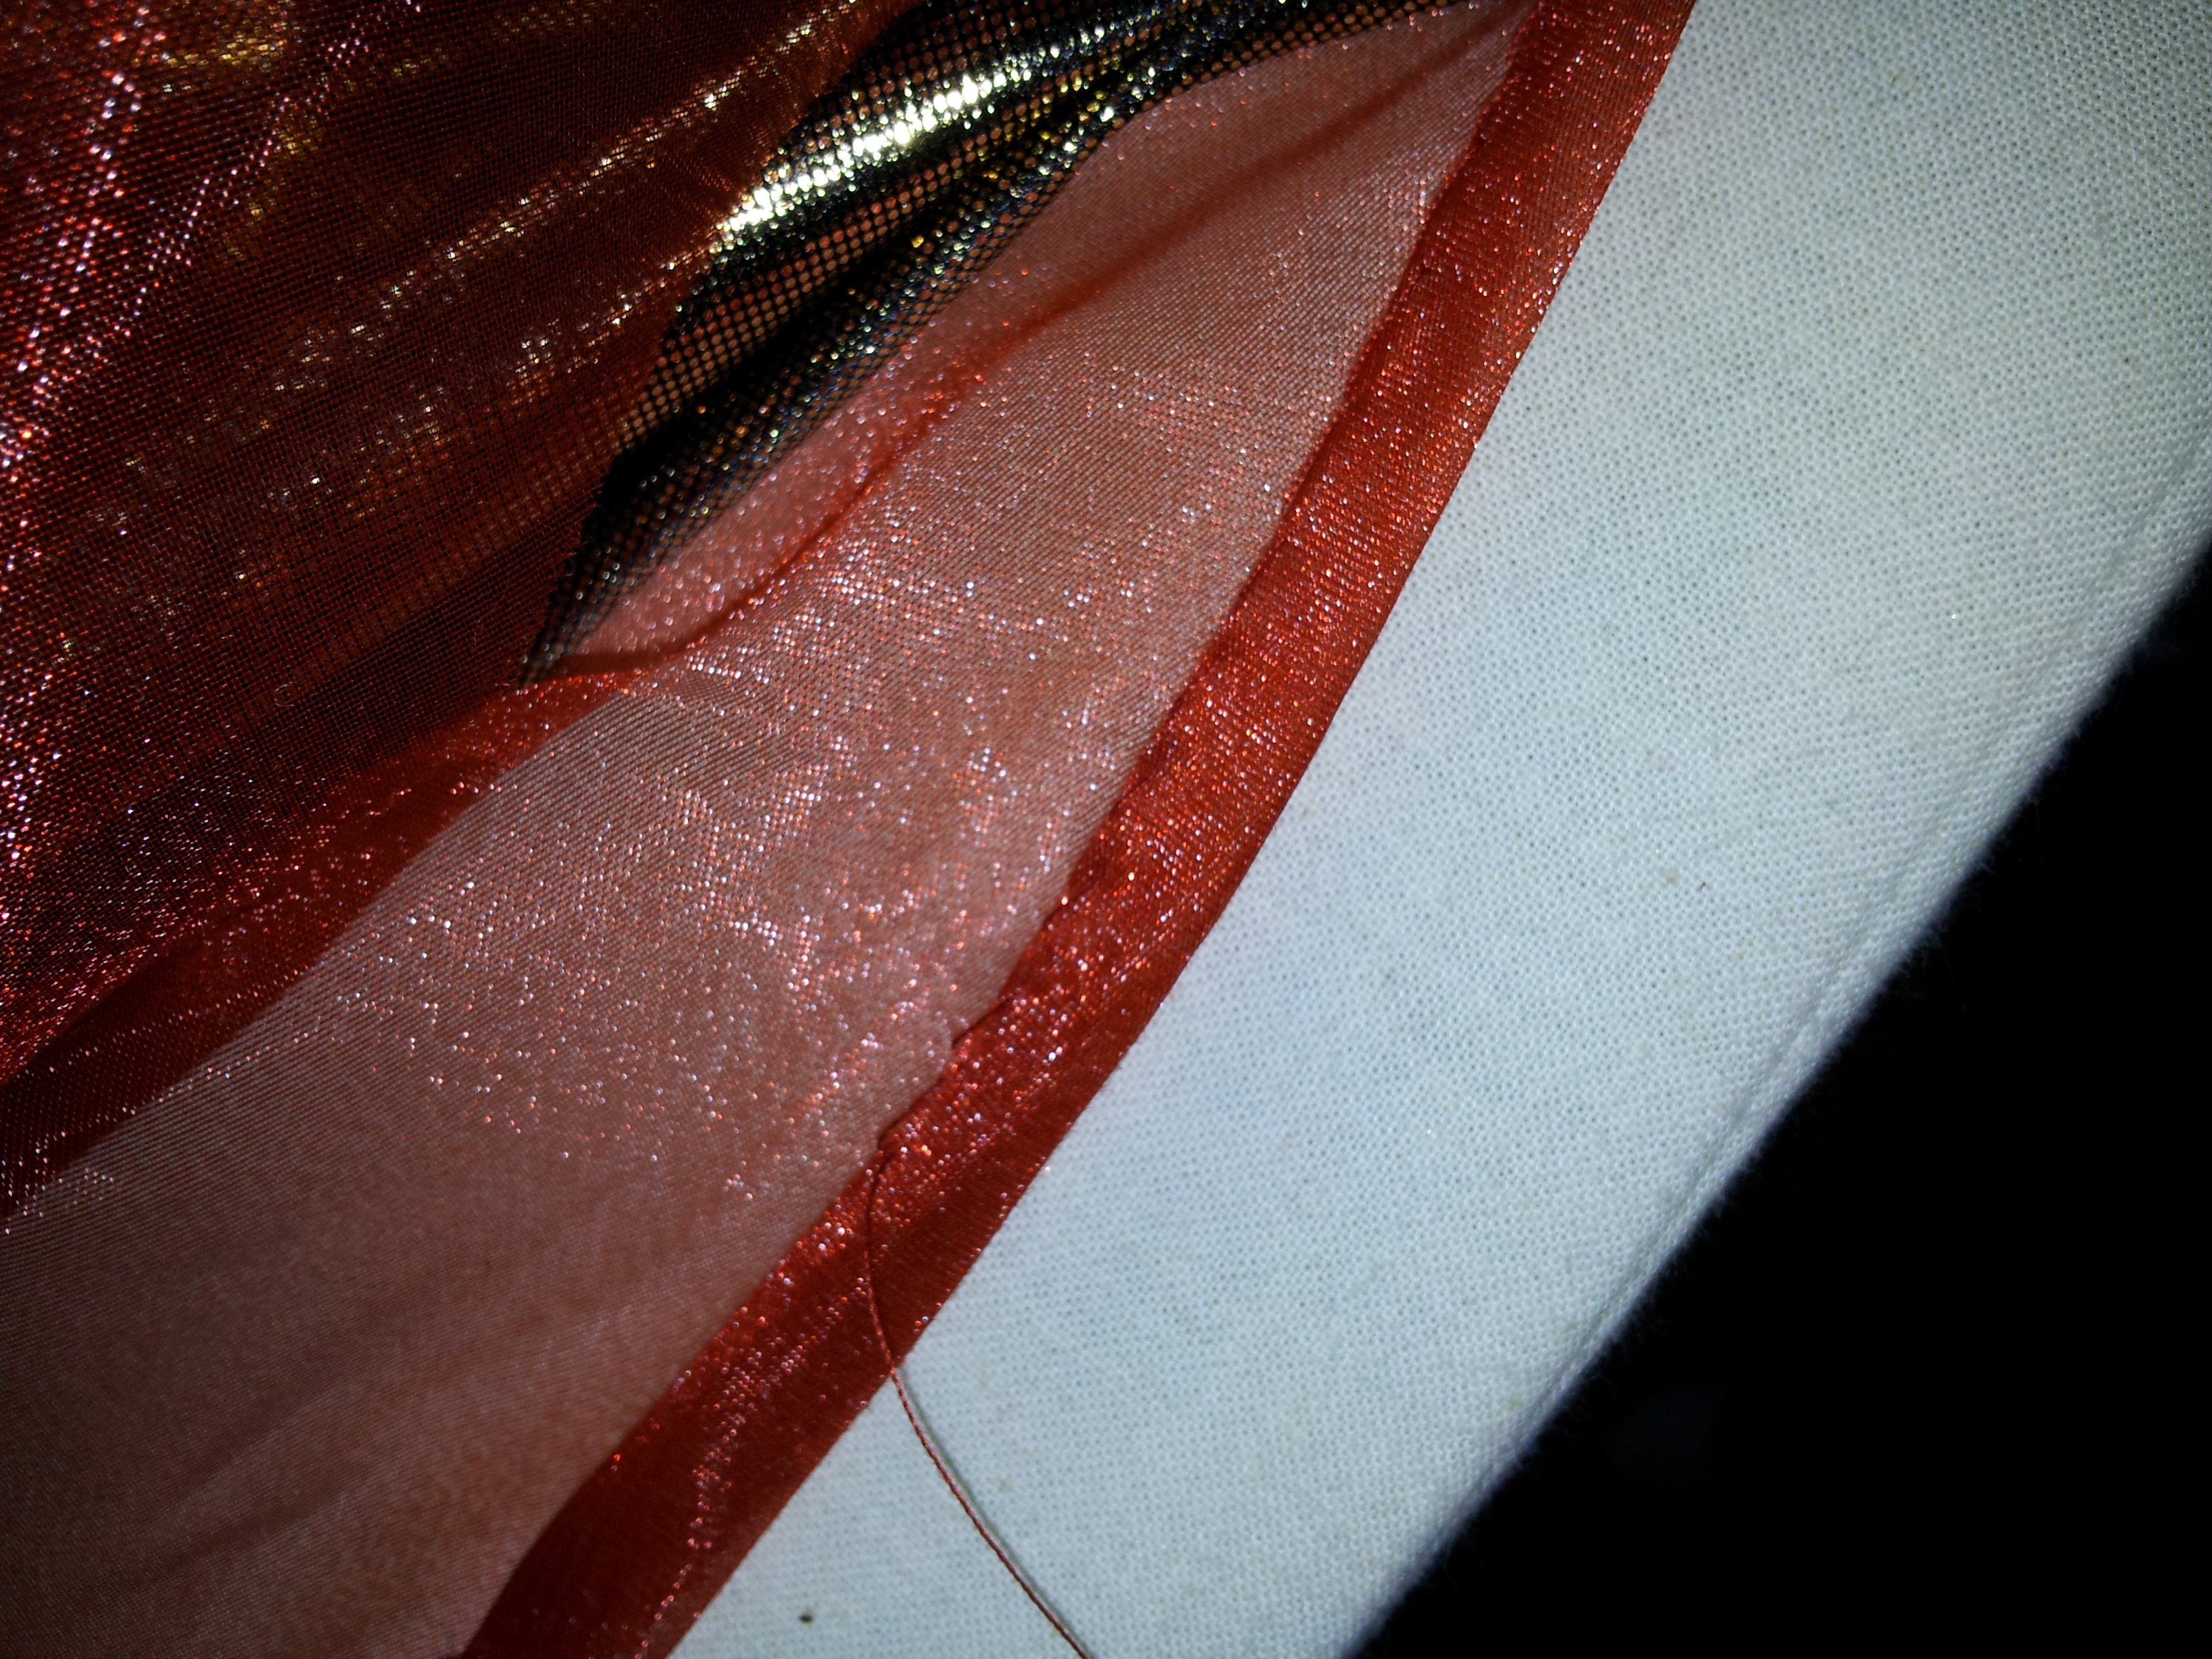
After cutting out all of the pattern pieces I serged the top front pieces and top back pieces together – Except the underside of the sleeves. For the gold fabric I serged together, but I left the rust organza free. Reference pictures aren’t great, but I can’t be sure if the rust sleeves are sewn together or not. Frankly I like the look of them being open – it’s more flowy and the gold peeks through It’s entirely up to you. If you do leave them open then you need to do a rolled hem. You can do 1/4″ or 1/2″. It can be challenging as organza is an extremely slippery fabric!
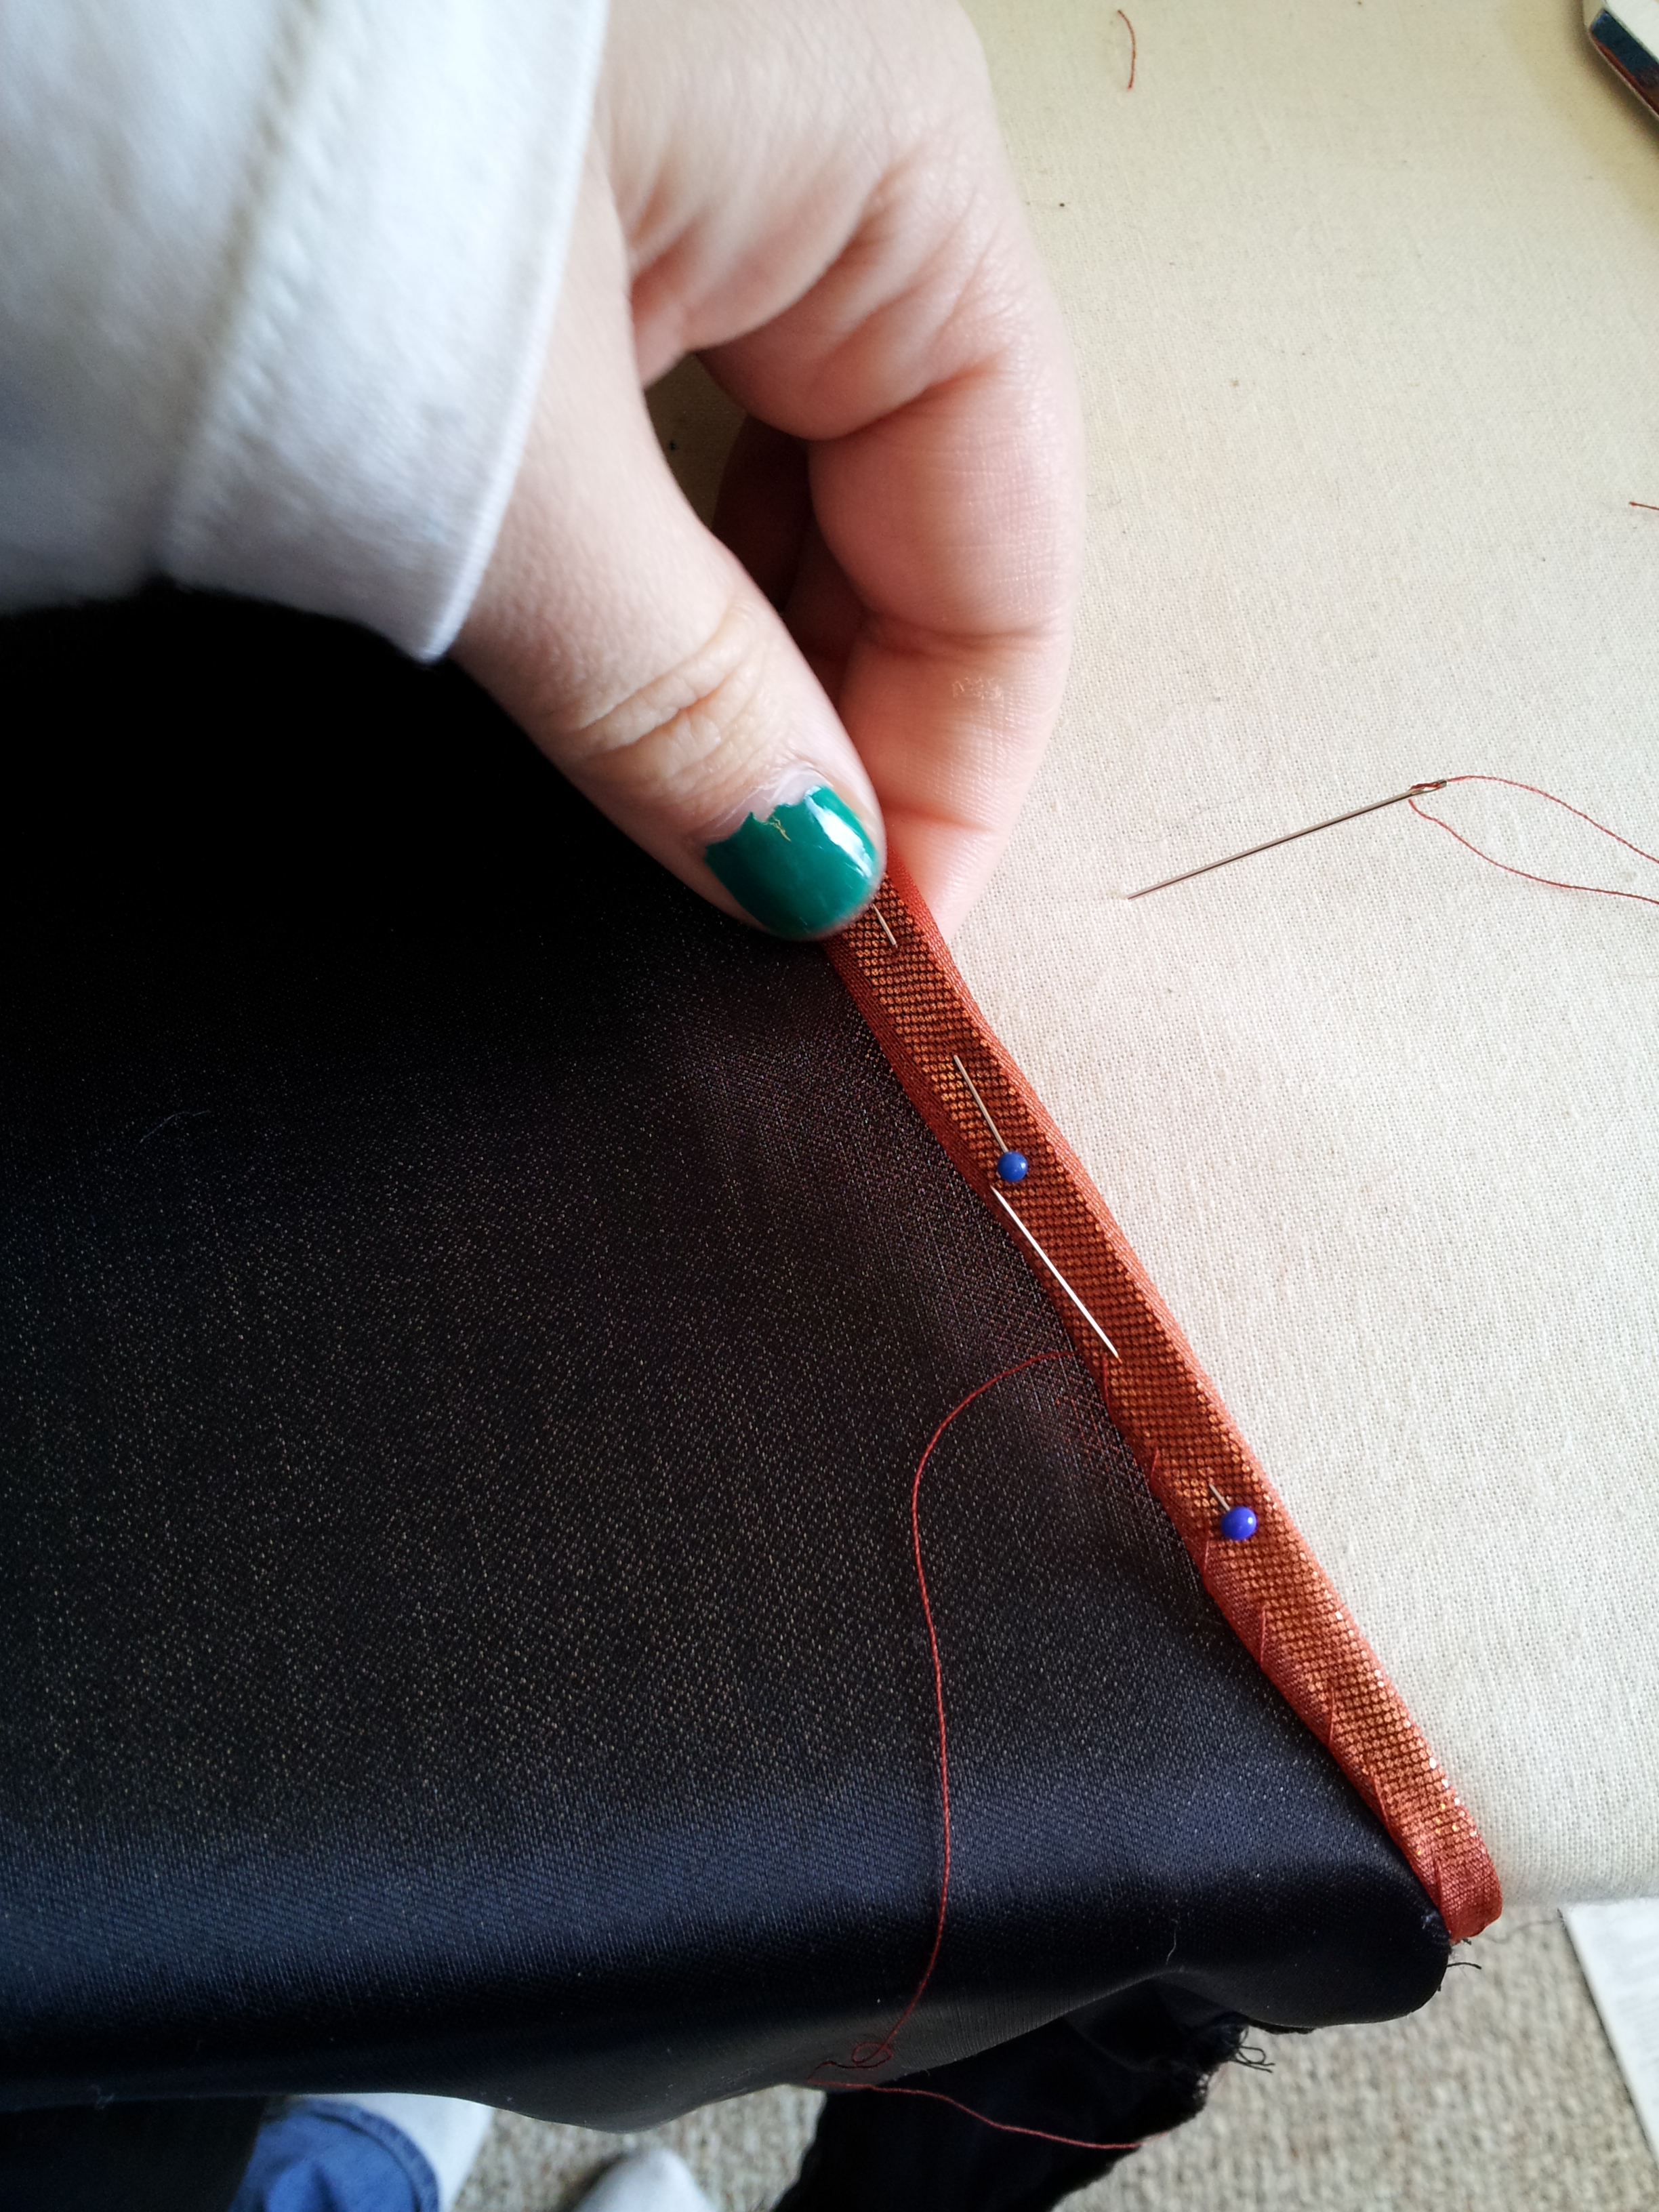
However, I managed to find a solution to this! I pinned the organza as I ironed the folds directly to my ironing board, and hand stitched the entire hem. I found an excellent tutorial on doing blind hems on youtube and it was most helpful. Anyway, the sleeves turned out AMAZING.
The neckline hems were serged and then roll hemmed using a blind stitch to create the proper look.
Skirt Construction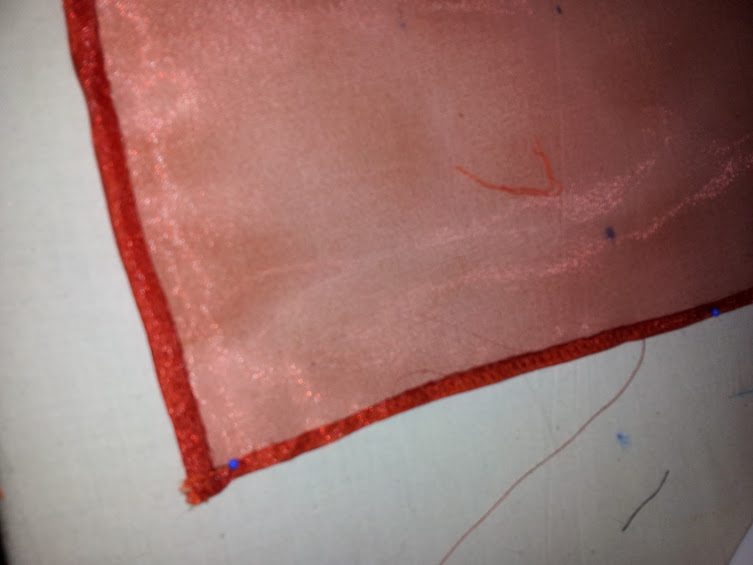
This was tricky! For the gold fabric I serged the two panels for the skirt back together (right sides in), and then flipped them right side out with the bottom hem open, then ironed the lamé on a low setting using a pressing cloth. I did the same for the skirt front. (Note: If you use two sided lamé you can skip.)
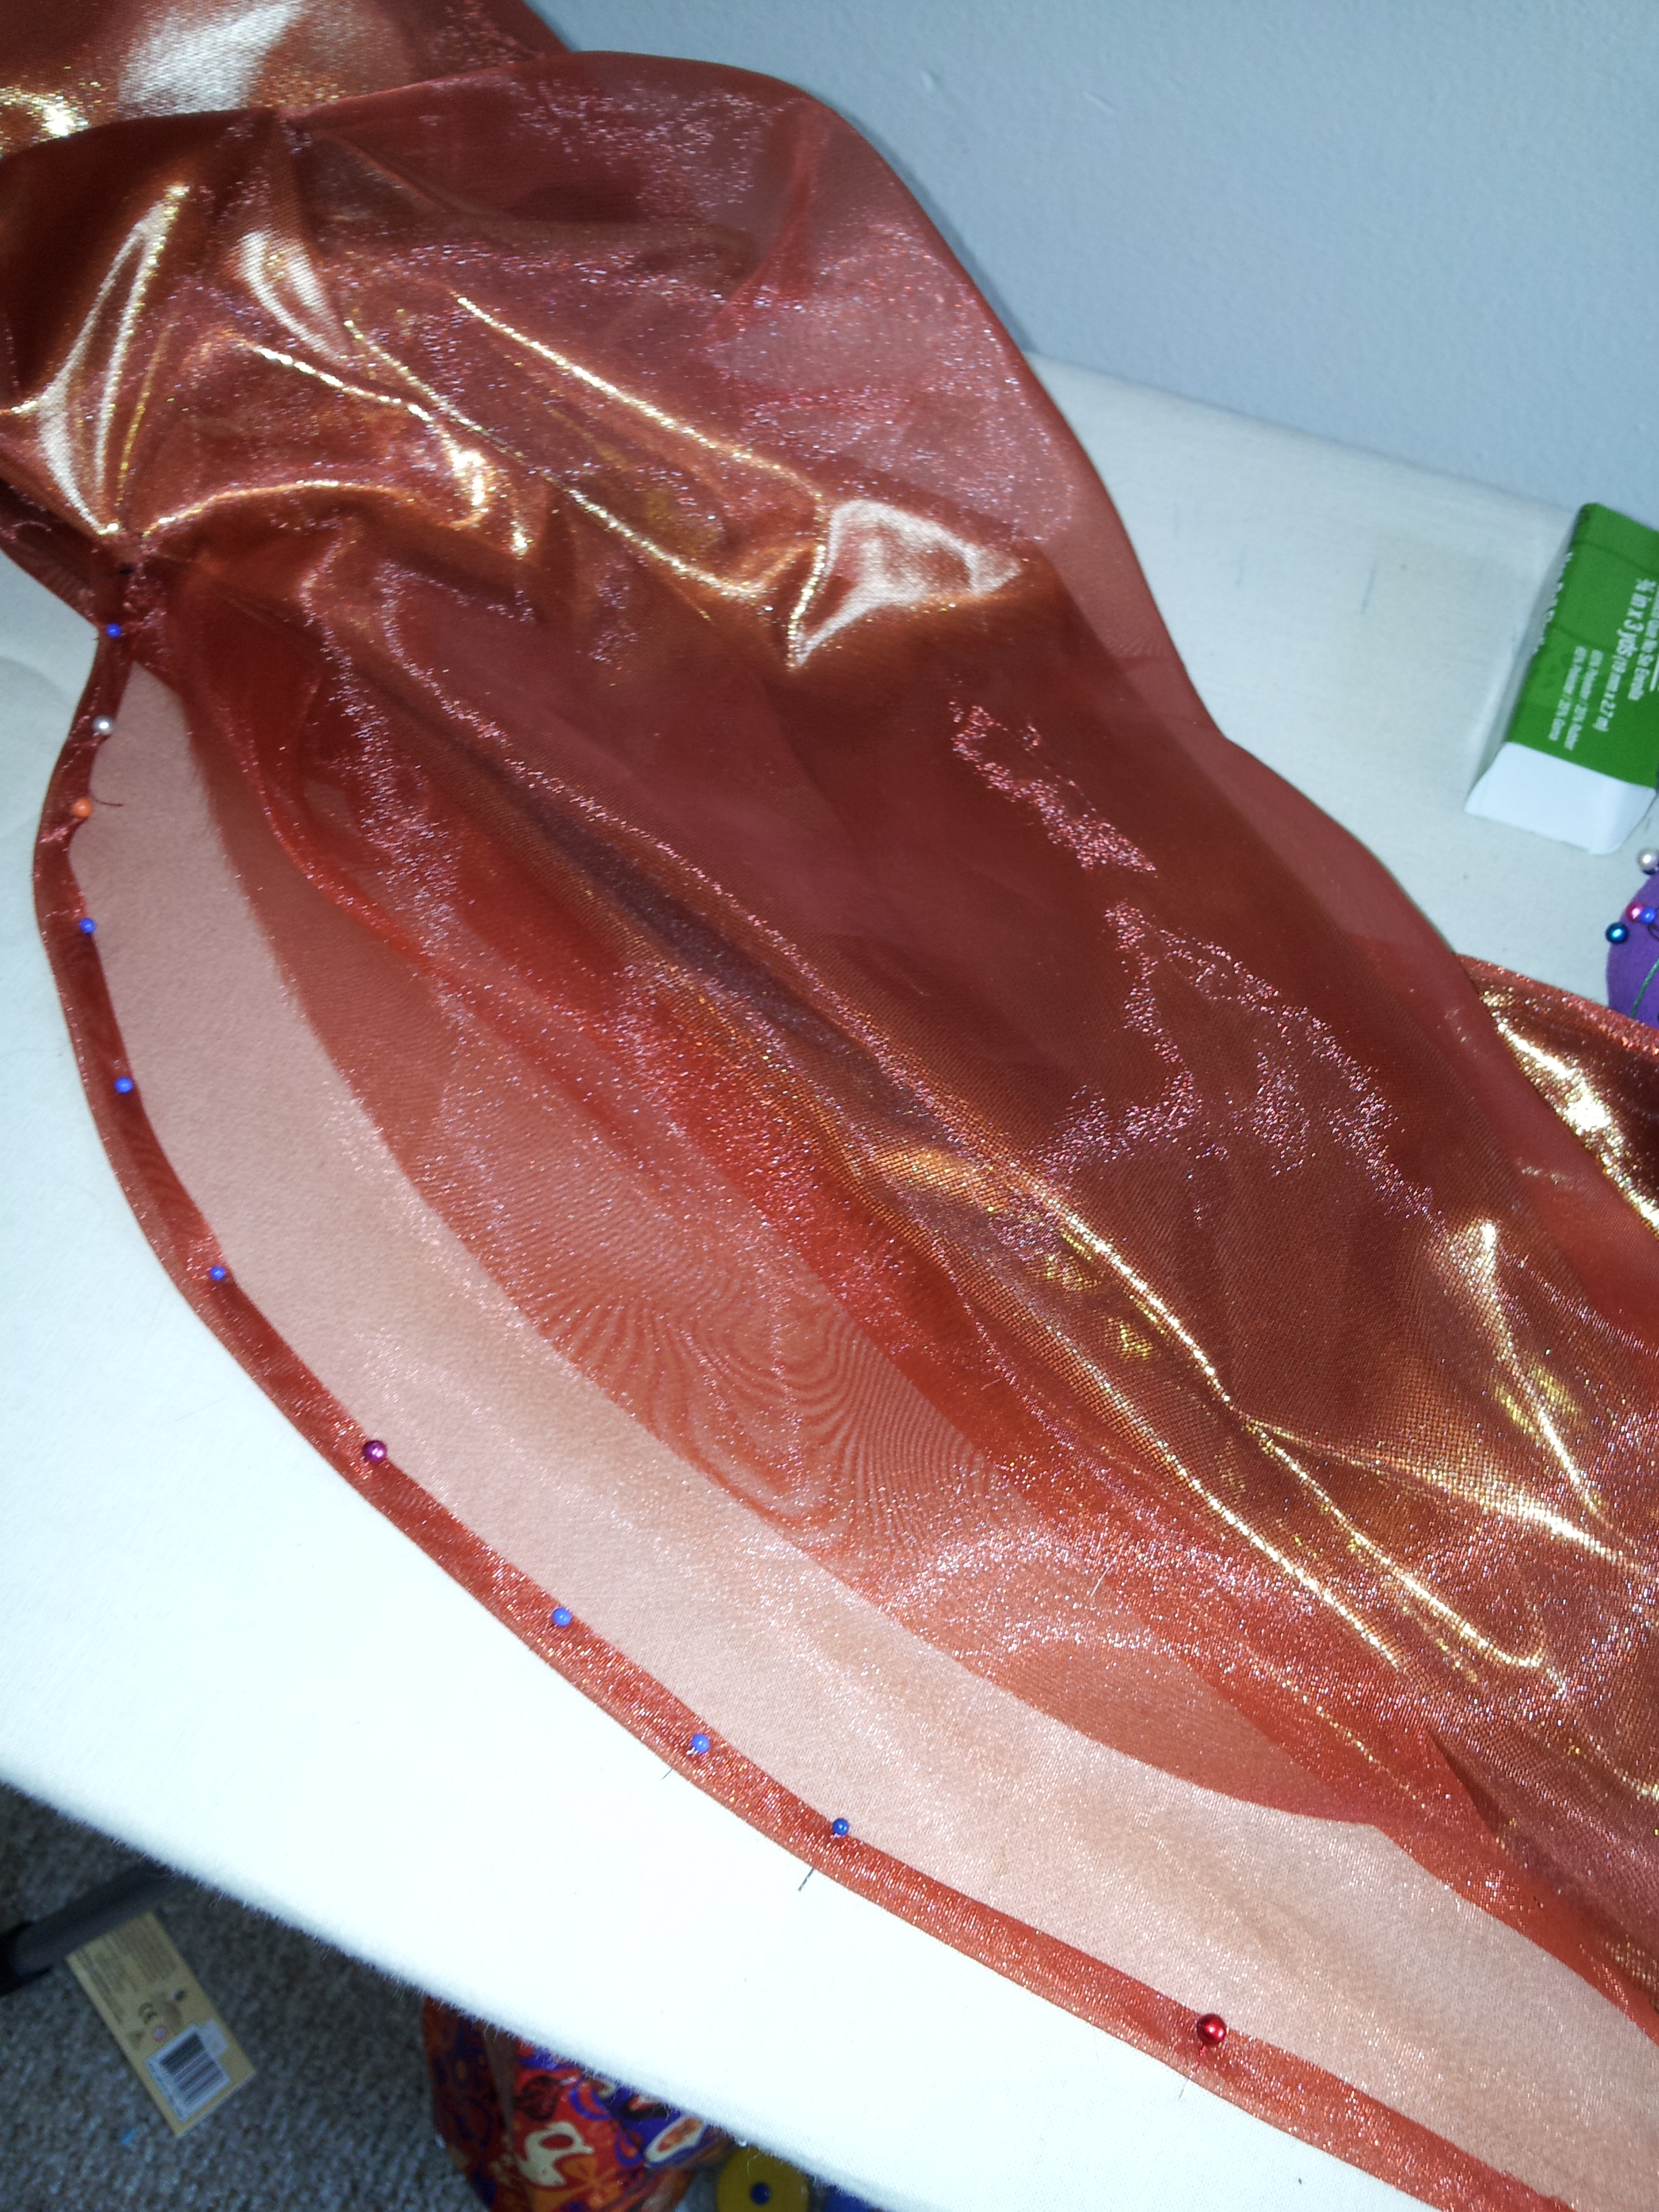
I then used a satin stitch along the entire bottom hem. For the organza, I serged the edges of each panel, and then serged the two panels together where I knew they would connect (which wasn’t much). I then did a rolled hem on all of the skirt edges of the organza. For the area of the pocket (on the right side), I left an area open big enough for the pocket and then rolled those openings and sewed them by hand. I did the same for inserting the pocket in the gold fabric.
Belt
The belt is made from a 6″ wide strip of organza, and a 6″ wide strip of lamé (about 5-6 ft long – depending on the wearer). I serged all of the edges and sewed the two strips into tubes and pressed them flat. I then finished the edges. The wearer will then tie the belt using the two separate fabric belts.
Assembly
So now that everything was serged together and all hemmed, it was time to put the pieces together. I joined the top and bottom as they were the same measurement and sewed the two halves together. Then I went back and sewed a band of elastic into the waistline, pulling the elastic tight as I went around the waist. This will help keep the dress flounced even as it moves underneath the belt.
At this point I went ahead and added the cuffs I made to the sleeves. I first serged them together and then stitched them onto the sleeves. This helps keep the sleeves in place when wearing the dress off one shoulder.
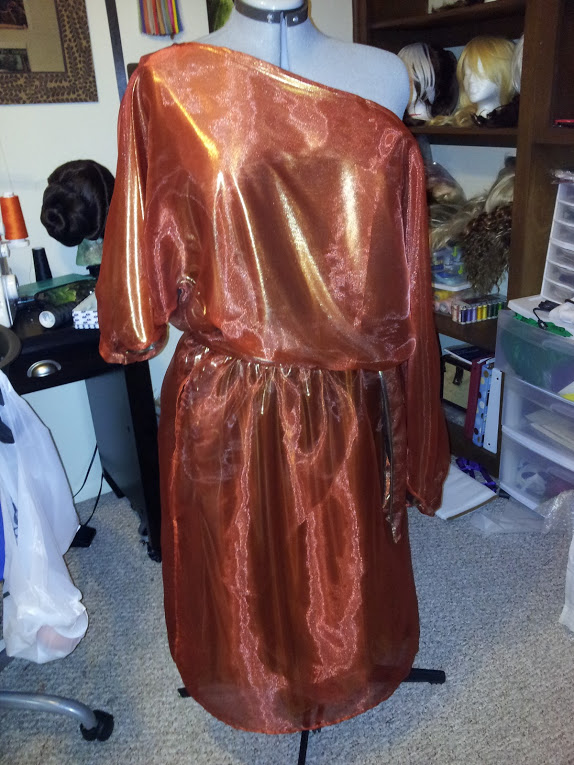
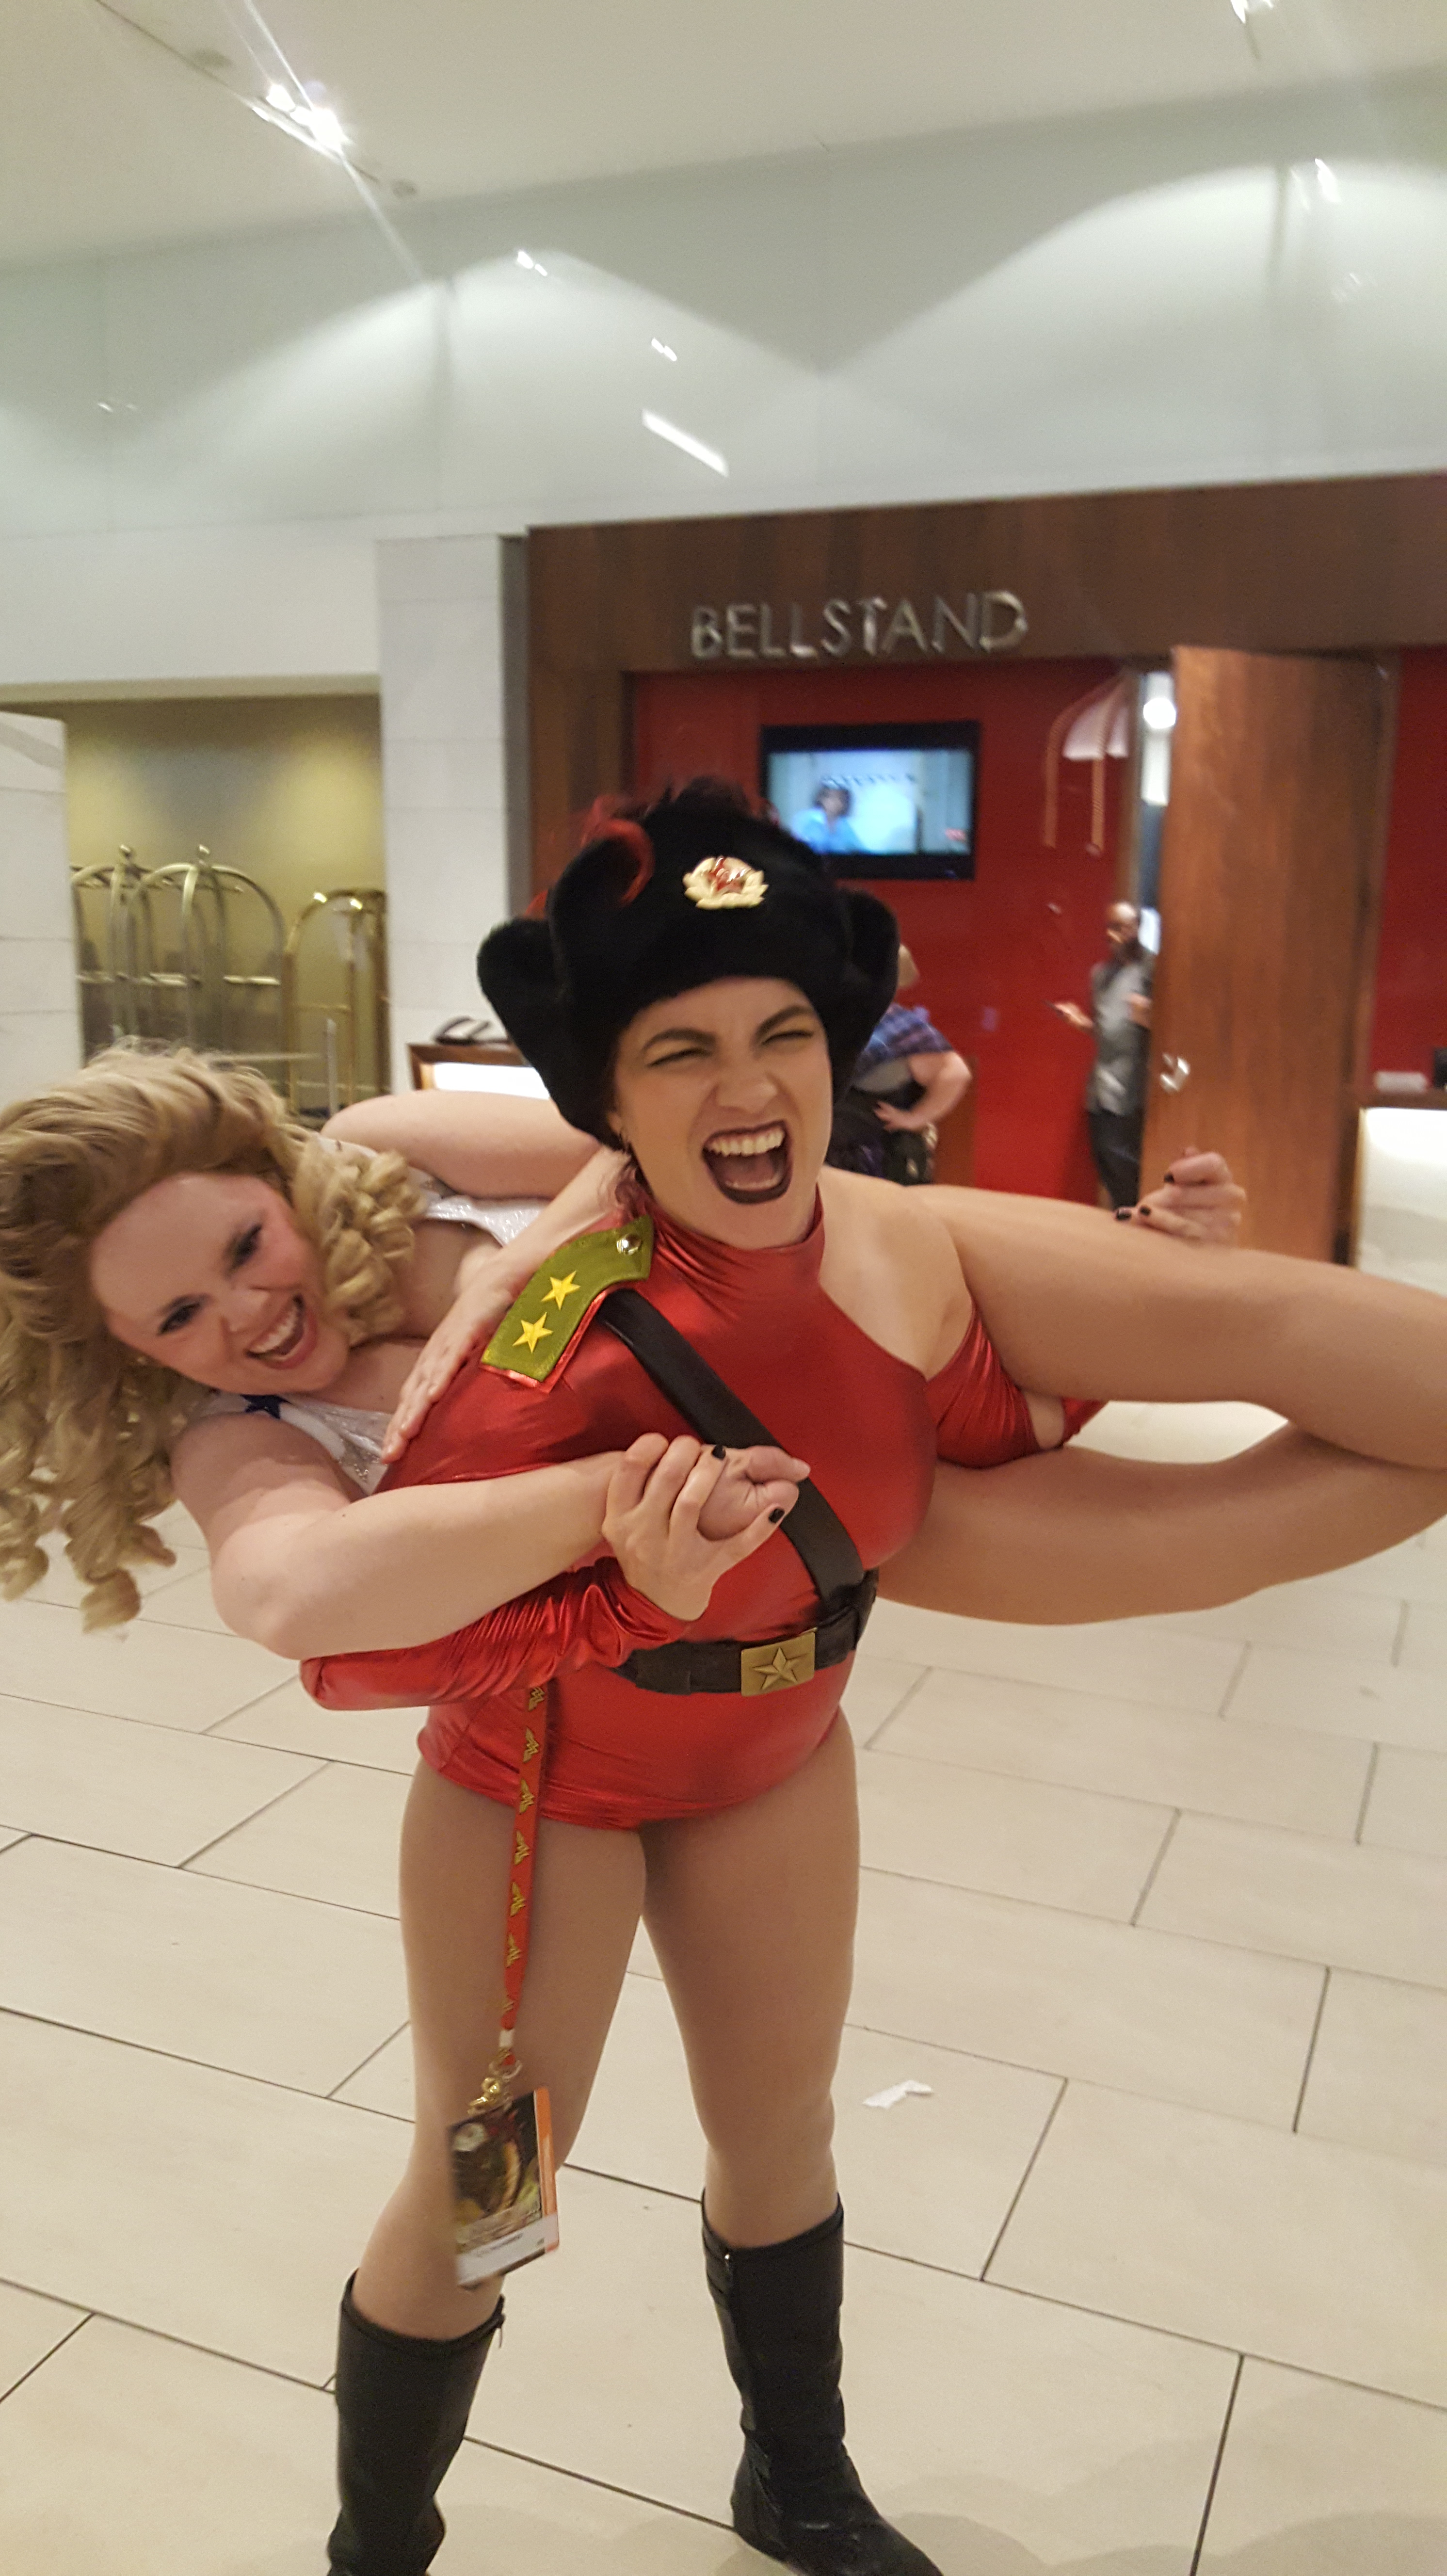
Photos


