Series : Fallout
Variant : Vault 42 Dweller – Medic
Date : 2024
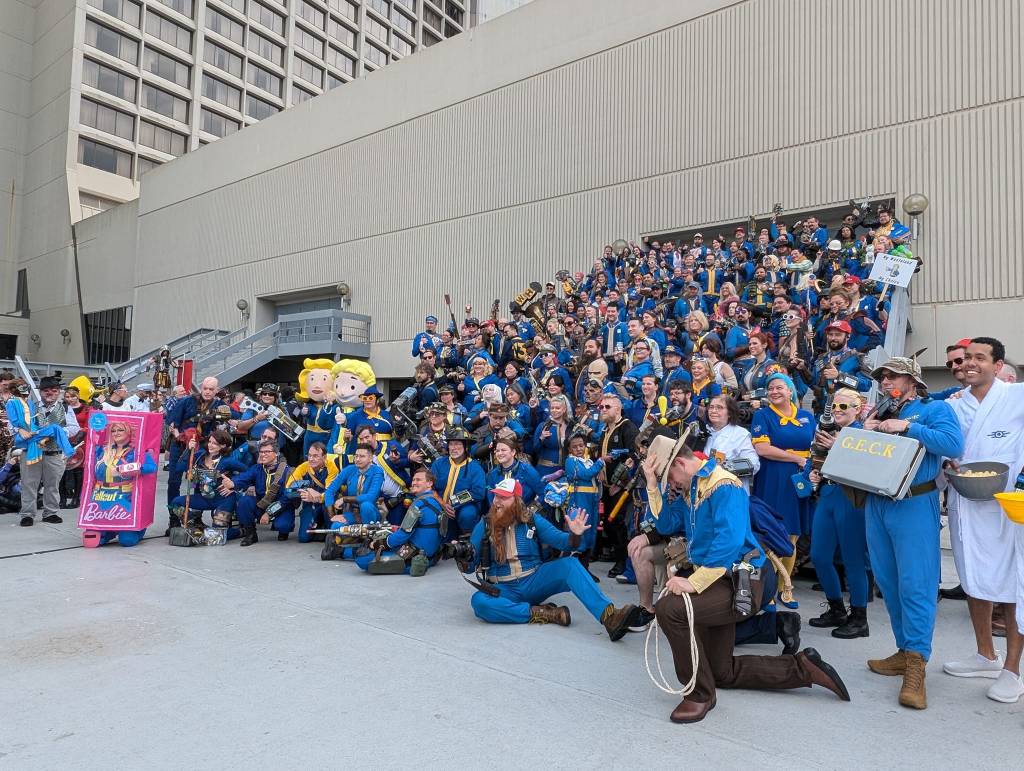
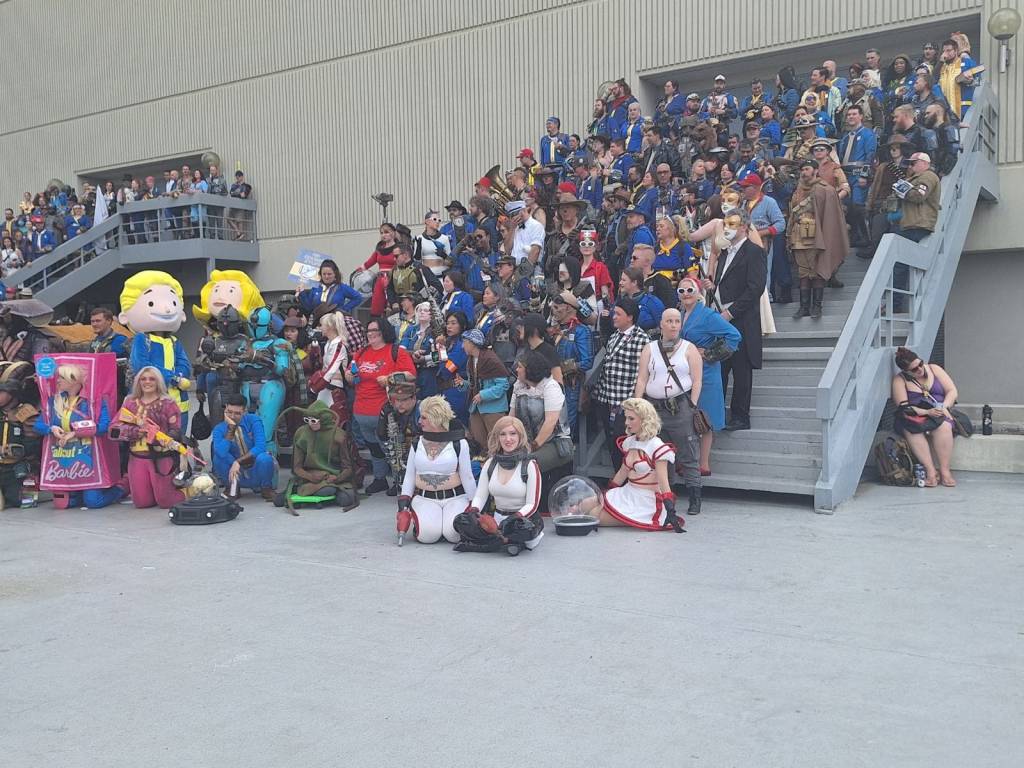
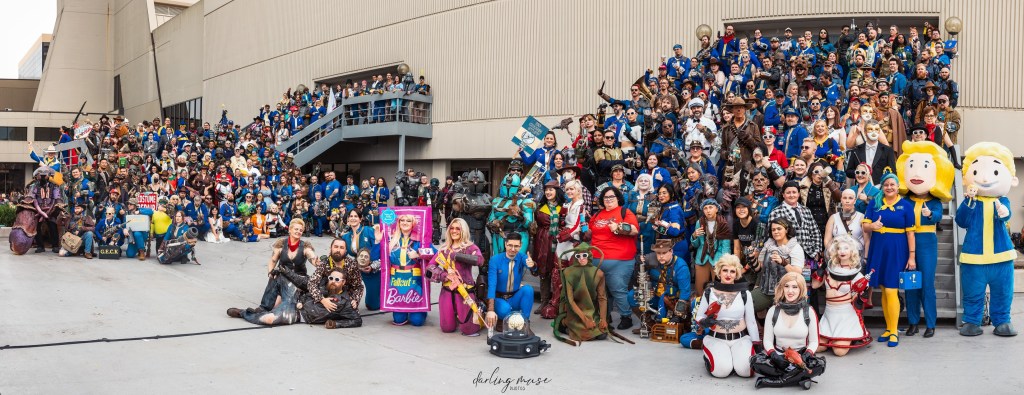
Made For : DragonCon 2024
Status : Active
Also Worn: N/A
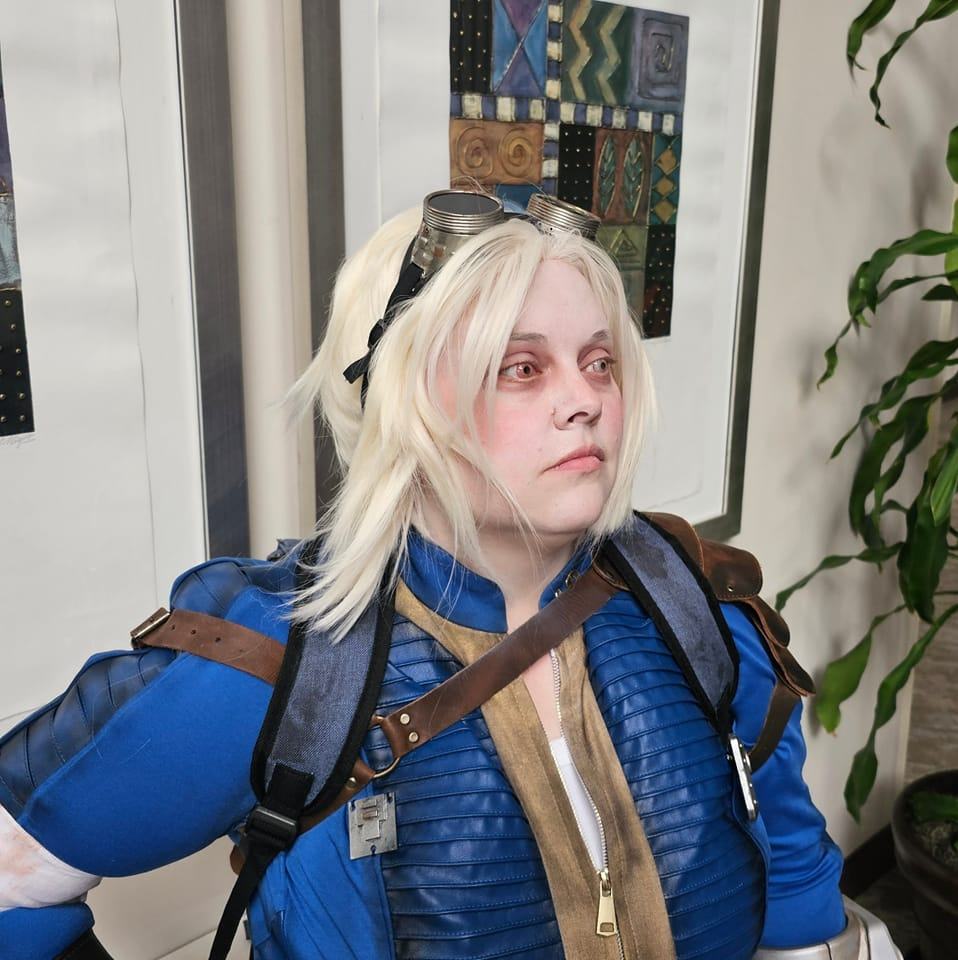
About the Costume: Vault 42 – As part of the vault experiment, no light bulbs of more than 40 watts were provided. I decided to run with this and go with a theme of pigmentation loss and light sensitivity in the vault population after multiple generations of being in the dark for a couple hundred years.
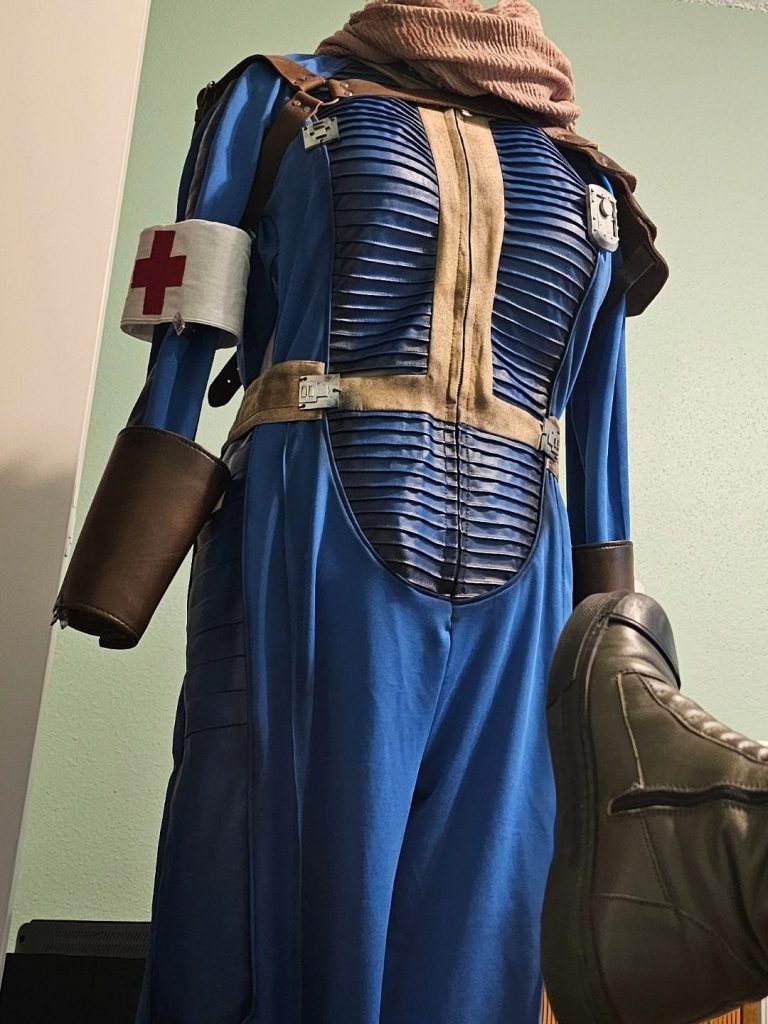
The vault suit is a heavily modified and weathered suit from miccostumes. I first removed the sewn-on plastic pieces then used a heat gun + goo gone to remove the 33 from the back of the suit. For modifications, thankfully all I really had to do sewing-wise was shorten the sleeves and legs, as I am hobbit-sized and it was way too long. The torso weirdly enough fit fine (though I’m sure it would have been way too short for an average-sized human).
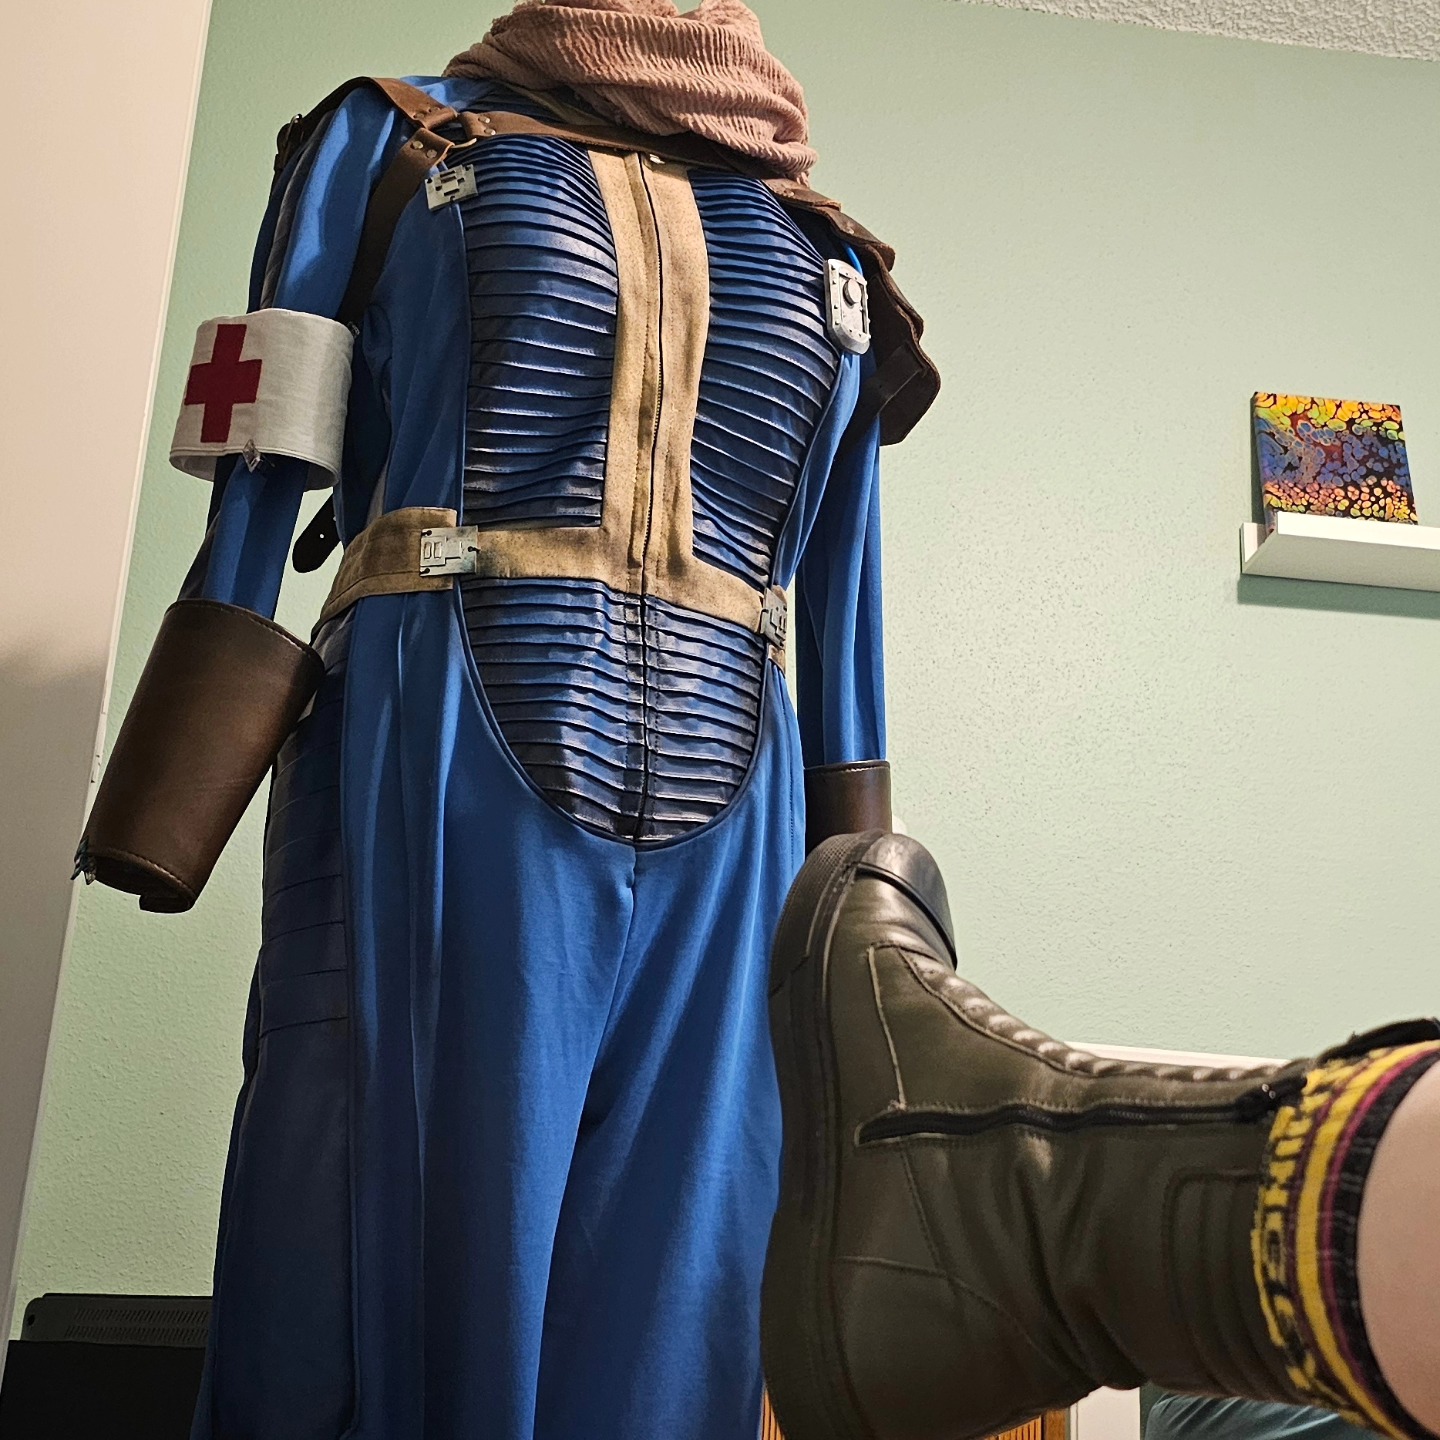
The plastic bits I reused after I hit them up with the dremel and some acrylic paints, then sewed them on using a navy thread. I replaced the cord that came with the suit with 4mm blue silicone tubing I dyed with Rit DyeMore (Graphite) to make it a more navy blue. I then used the loops that were already on the suit to thread it through then sewed it down in additional places so it went along the correct path. I glued the tubing to the “end” pieces using E6000 and Superglue gel. Is it overkill? Probably. It’s also not going anywhere.
Weathering involved a LOT of usage of a Dremel, dilute acrylic paint (for spatter), and airbrushing. This was my first project to airbrush (and make props for — yay learning things), and I ended up not only loving it but buying a more ergonomic airbrush and small compressor so I could do it more. I seriously cannot use a standard top-trigger one. My poor hands and wrists got super inflamed when I did.
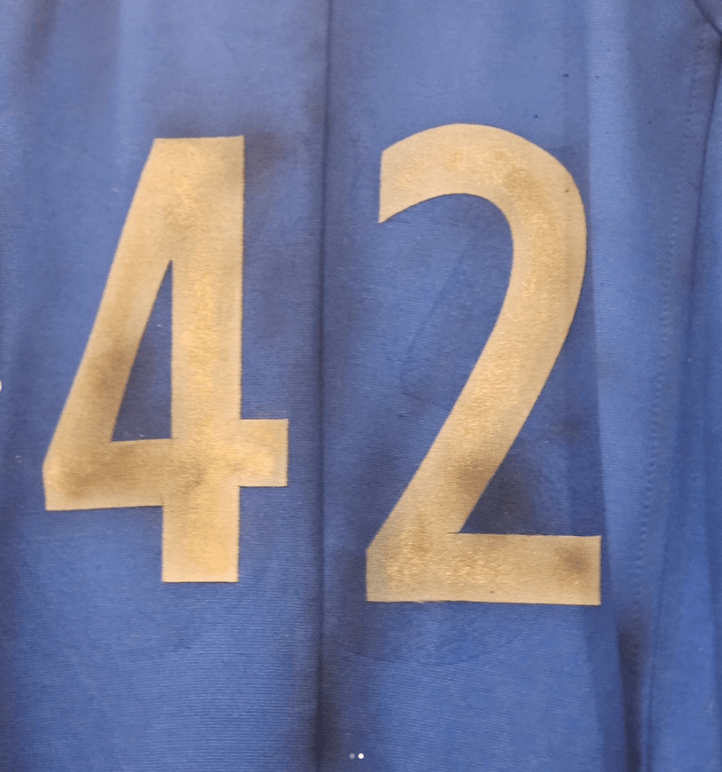
For the back numbers, I bought a similar tan linen-look fabric and used Heat n’ Bond to prevent fraying and stiffen up the fabric so I could cut out a 42 in a similar font on my Silhouette. Using the Heat n’ Bond also ensured that I could adhere the numbers to the back like they are in the show. I replaced the 33 on the collar with gold number pins I got from Pinmart. I pinned them on, then sewed them on using clear thread. I then cut the pinbacks off.
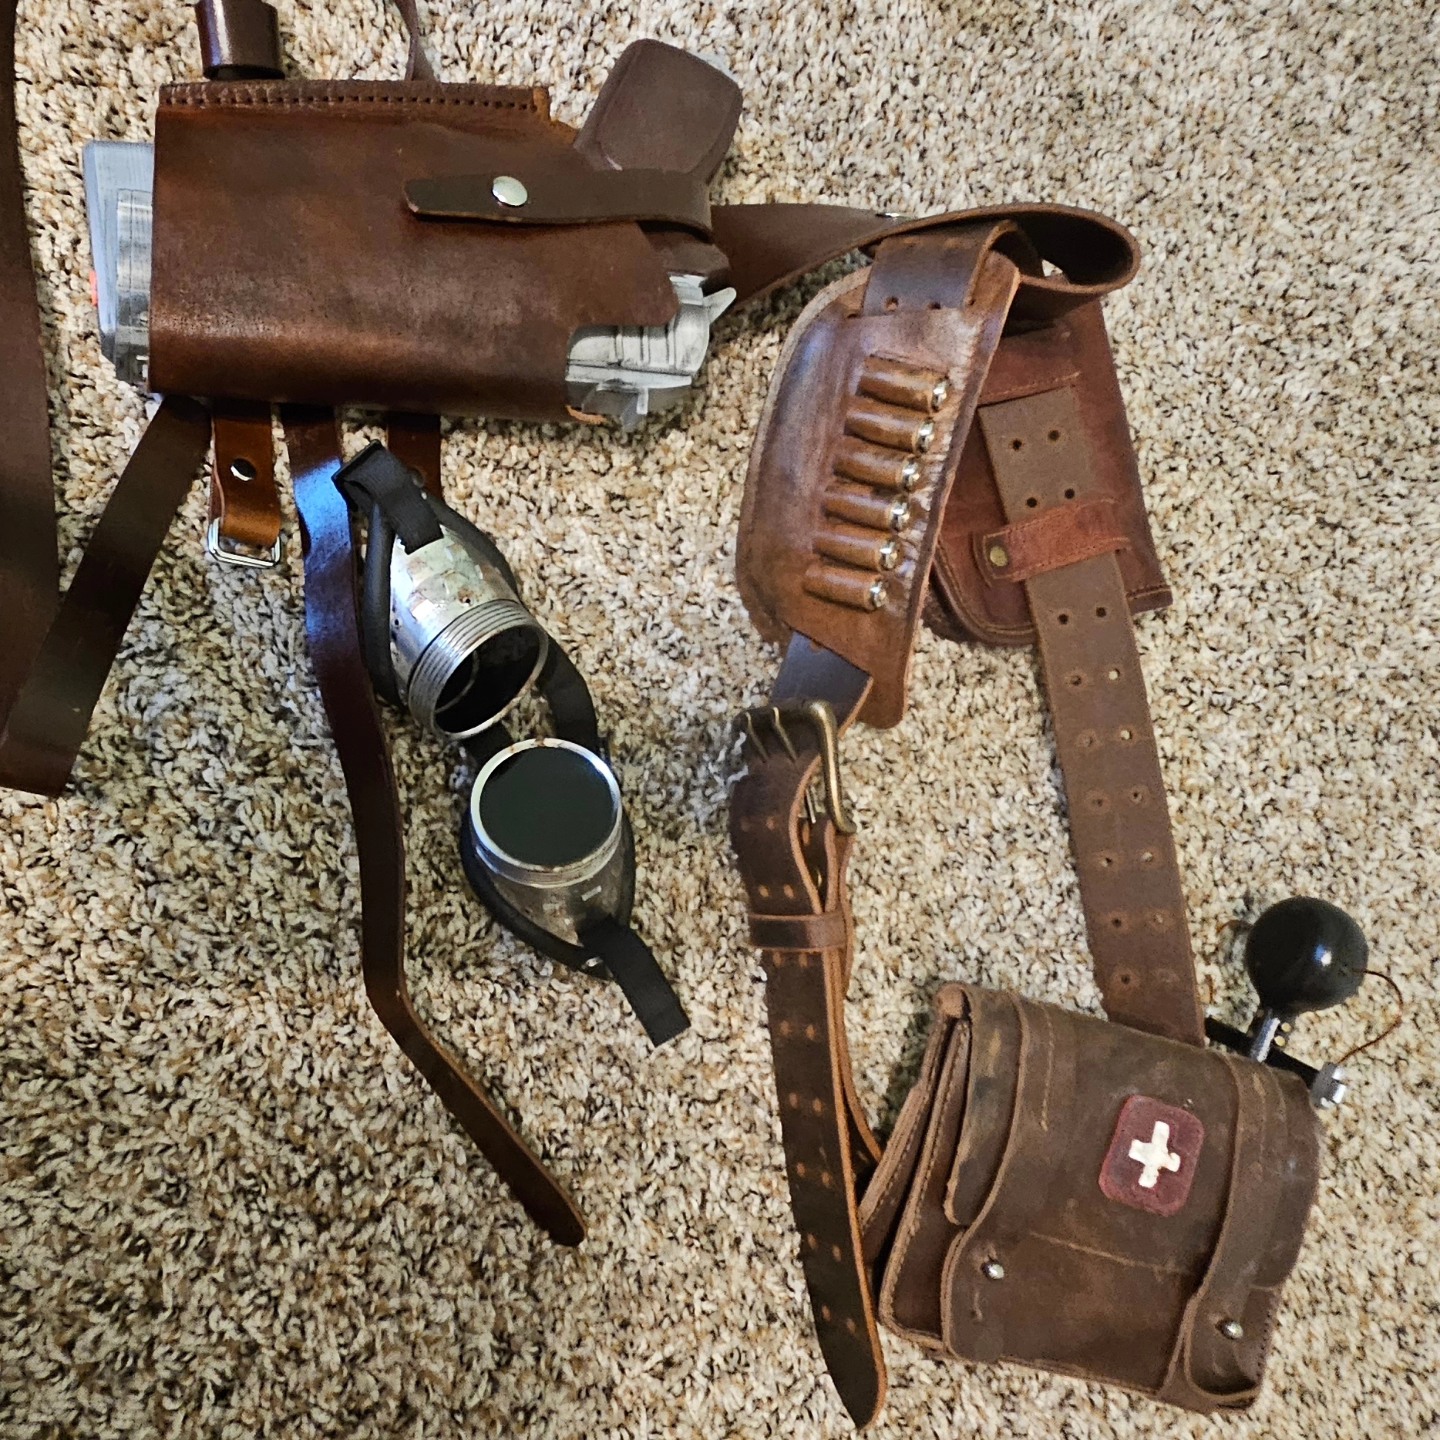
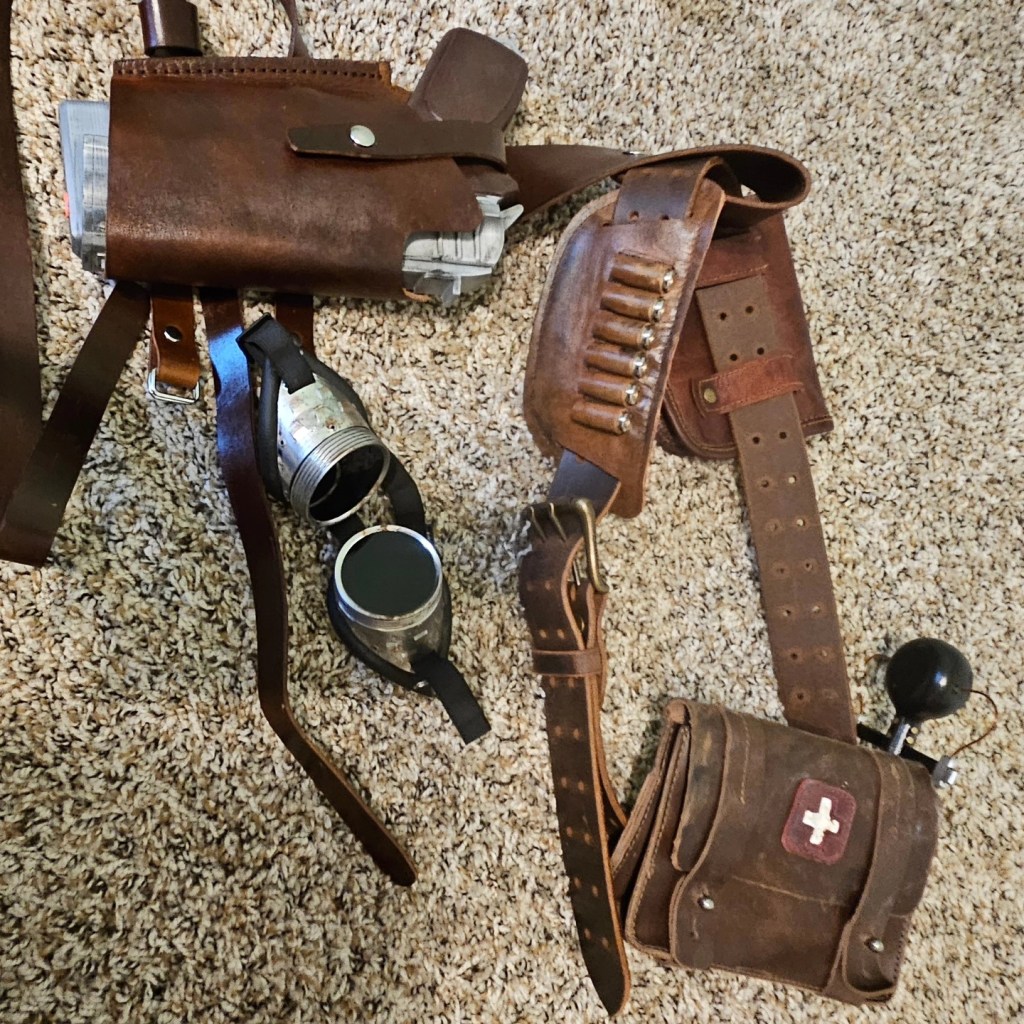
The armor is a mix of various leather armor pieces, belts, and pouches that I weathered. I am stoked that I found a medic pouch on Amazon that went with the rest of my armor pretty well! I modified it by cutting off one of the side loops and stretching the other so the Stimpak would fit. I bought a holster for the Fallout4 style 10mm pistol from Darman’s props. I could have made the holster if I had the time, but I was literally working on costumes until 2 days before flying out to DragonCon. When one does not have time but wants quality, one will pay for it. It looks great, and it is made specifically for the same pistol that was 3D printed and painted (STL from Mysterymakers). I was able to buy some .40 S&W dummy rounds as well for the cartridge loop holder on my belt that ended up looking so freaking good.
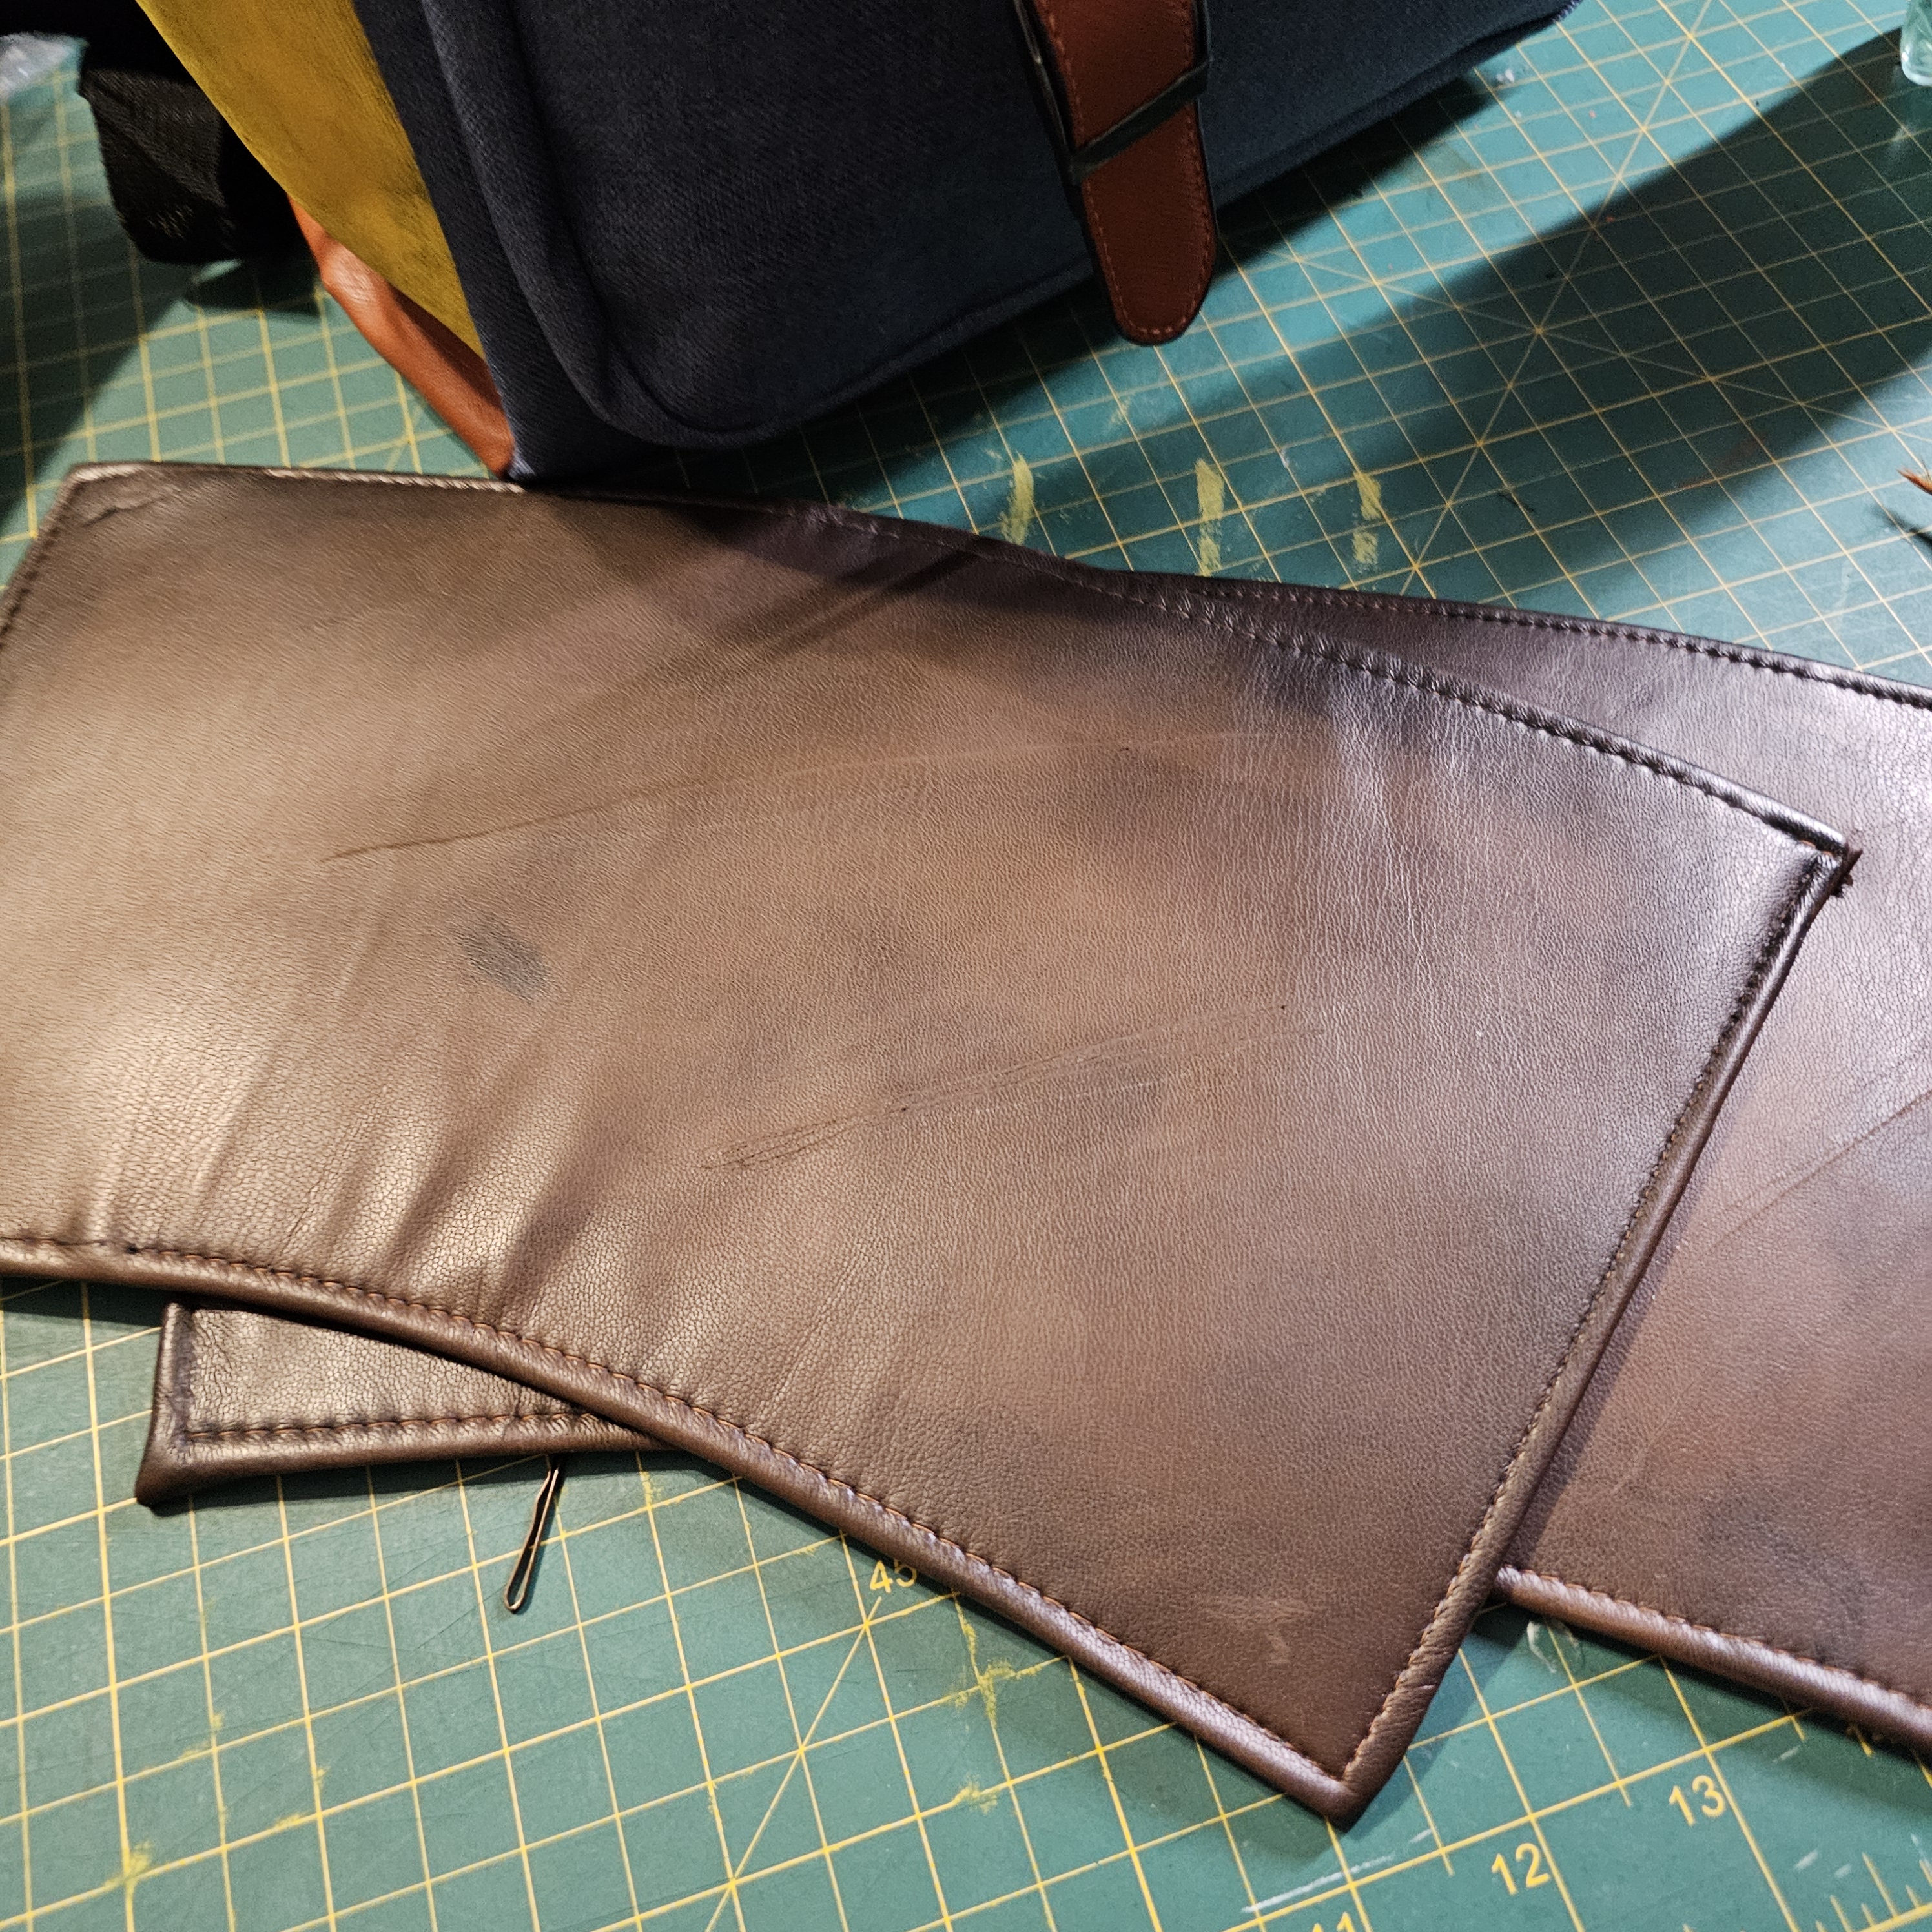
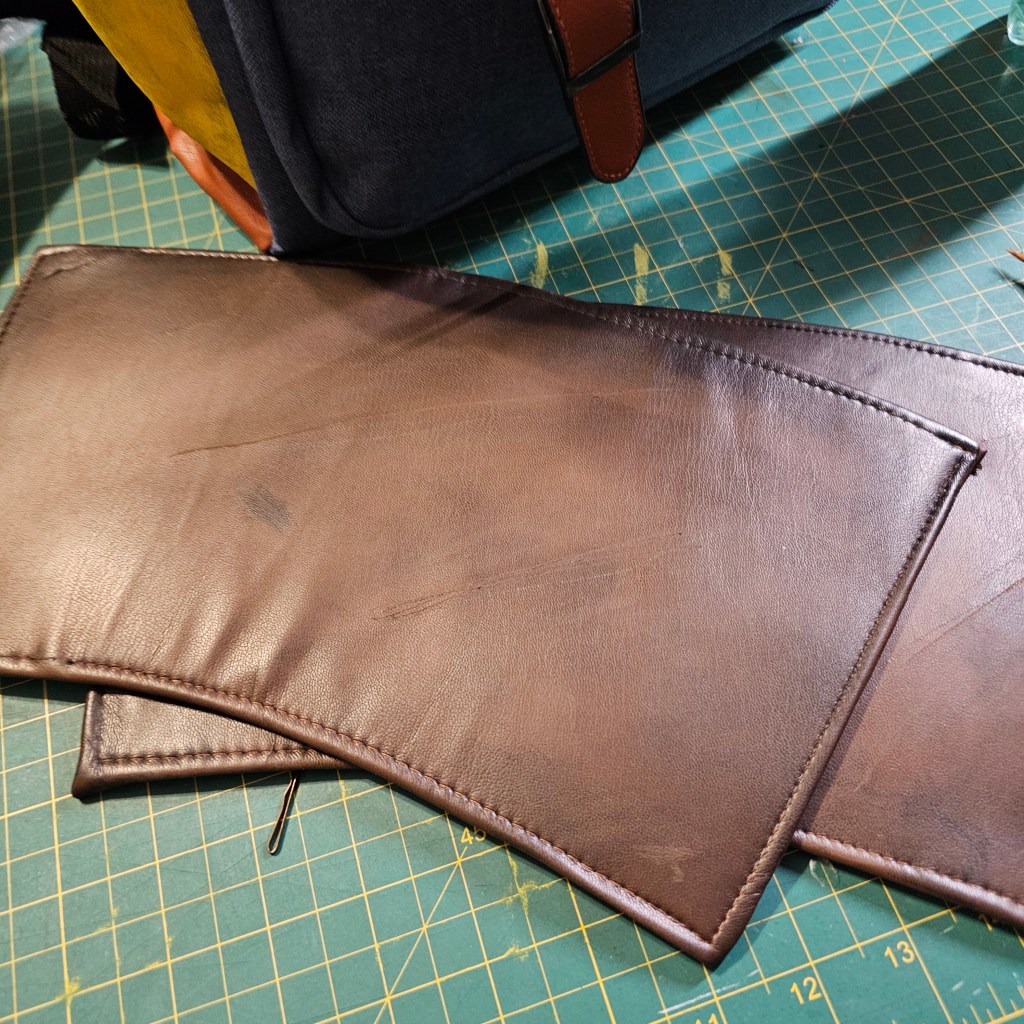
I made the gauntlets using 2mm craft foam and dark brown faux leather. I wrapped the faux leather around the edges of the craft foam and then made a second piece to overlap and glued it down using this tutorial as a guide. I used adhesive industrial velcro for the closure. After finishing the gauntlets, I used dilute acrylic paint and my Dremel to weather them. I also sewed around the edges using a large stitch length to not only reinforce the fabric attachment but also to give it a sewn leather look.
For the medic armband used some white linen and cut out a cross from some red felt that I had in my stash. I used some fusible interfacing inside the band and sewed two loops of elastic inside to help it stay on my arm. I then weathered it.
The Pip-boy is 3D printed using cosPLA (Version A) from Polymaker. I got the files and hardware list for a smaller version of the Pip-boy from Etsy. I sanded the ever-loving shit out of it (No one told me how much that fucking sucks, btw…), and then used a filler primer and a coat of metallic Rustoleum. I weathered it with the Dremel and that’s right – more acrylic paints to make it rusty in some spots, dirty, and a good spatter of red to resemble blood. Note: while this particular Pip-boy will hold a phone, only up to certain sizes. FYI: We had to cut a hole in the top half (not the front plate) and add felt to accommodate and protect the stupid lenses on my Galaxy S23 Ultra. So just a heads up. Also, the 8mm magnets still weren’t strong enough to keep the damned front plate from falling off and yeeting my phone. Even with all of the problems, it was a learning experience for sure. However, it is still too big for my arm and I honestly ended up leaving it behind for someone else. I hope it went to a good home! I ended up preordering the Pip-boy from Bethesda based on the show, so hopefully, that will be more appropriately sized. I also have a full-size Pip-Boy 3000 Mark IV ready to sand and paint, but the size of it is laughable. It takes up my entire forearm!
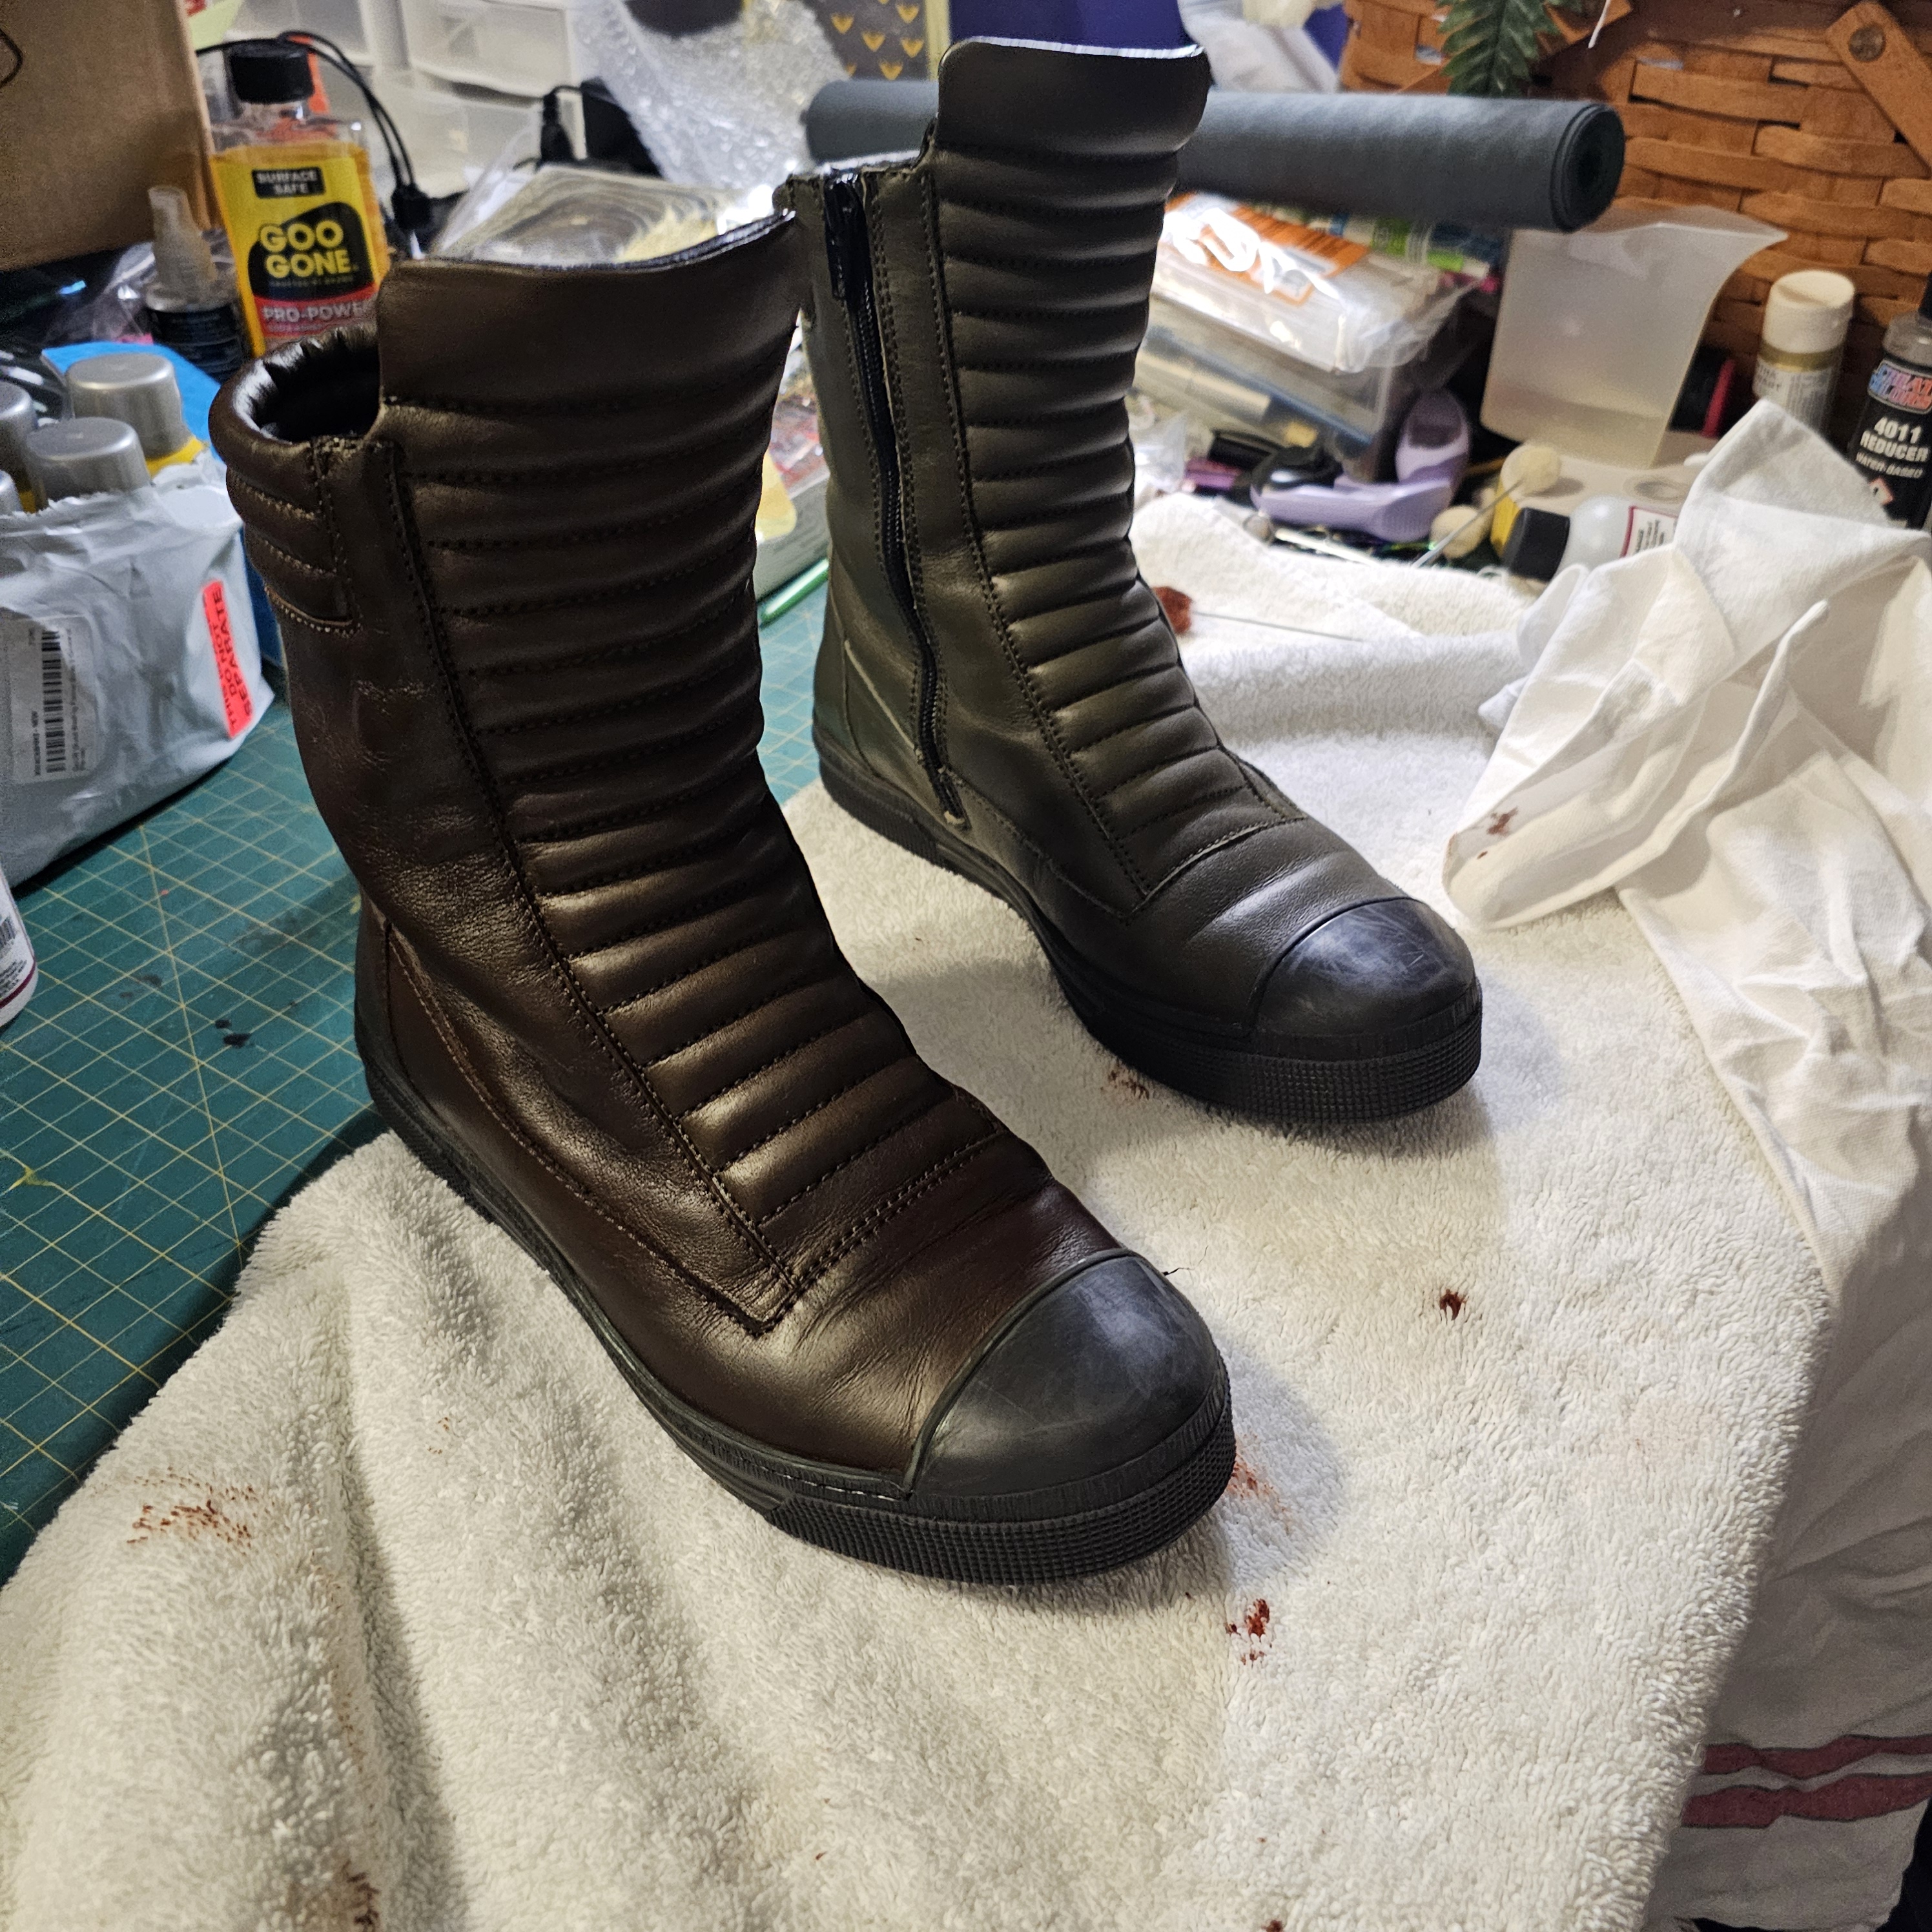
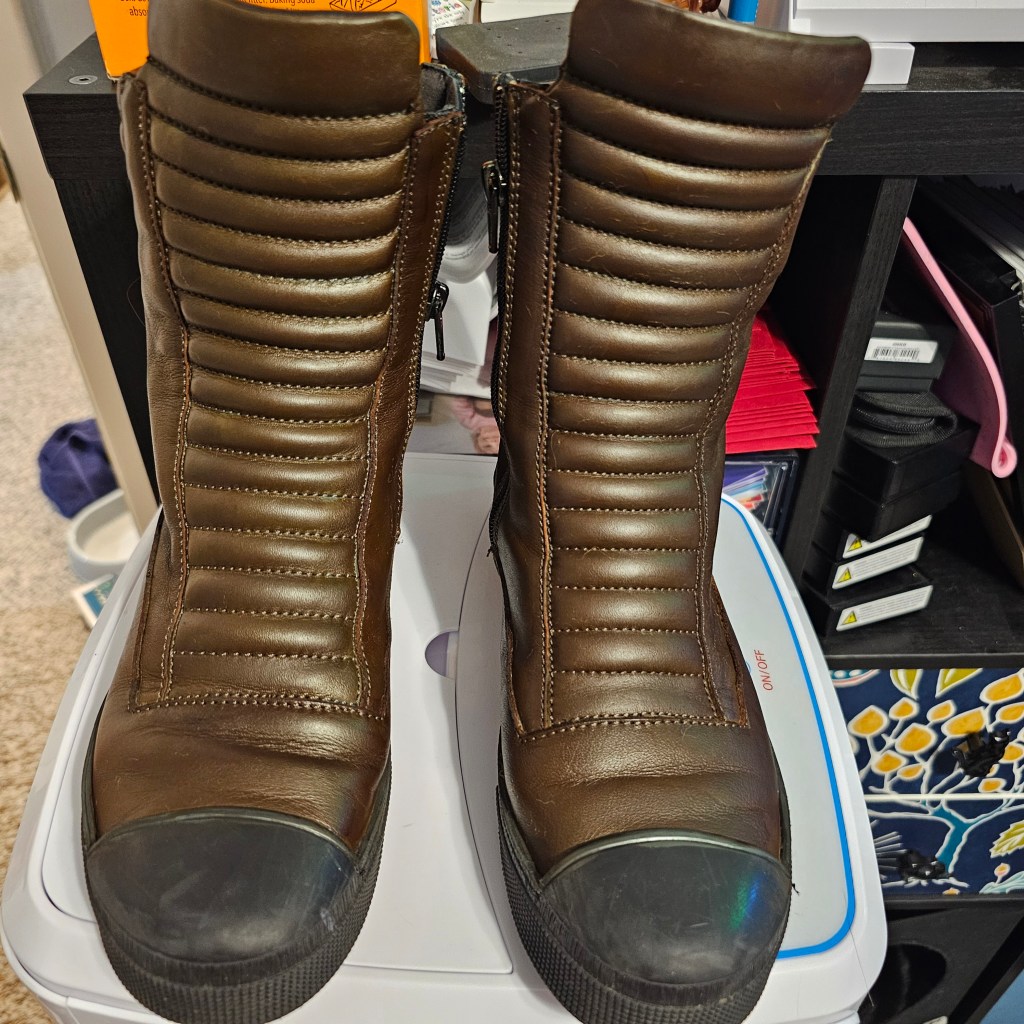
The boots are olive Journey boots from MarcellaNYC. These are the same boots used in the show, but they were brown. They aren’t the Journey sneaker boots or the Karma boots – there are three puffs on the back, and only one zipper, not two. I found a pair used on Poshmark, so that helped save some money. Also, it helped ease my mind since I knew I was going to have to first stretch the damned boots and then dye them! For dyeing the boots, I went with Angelus leather dye in Bismark Brown. I knew I needed something with more orange-red in it to counteract the green. This ended up working beautifully and I was able to achieve that gorgeous brown I needed! The boots were prepped using Angelus leather preparer and deglazer that I thankfully had on hand, then applied the dye with wool dobbers. After they dried I hit them with a flour sack rag to remove excess dye. I still need to seal them, but I also kind of want them to weather on their own.
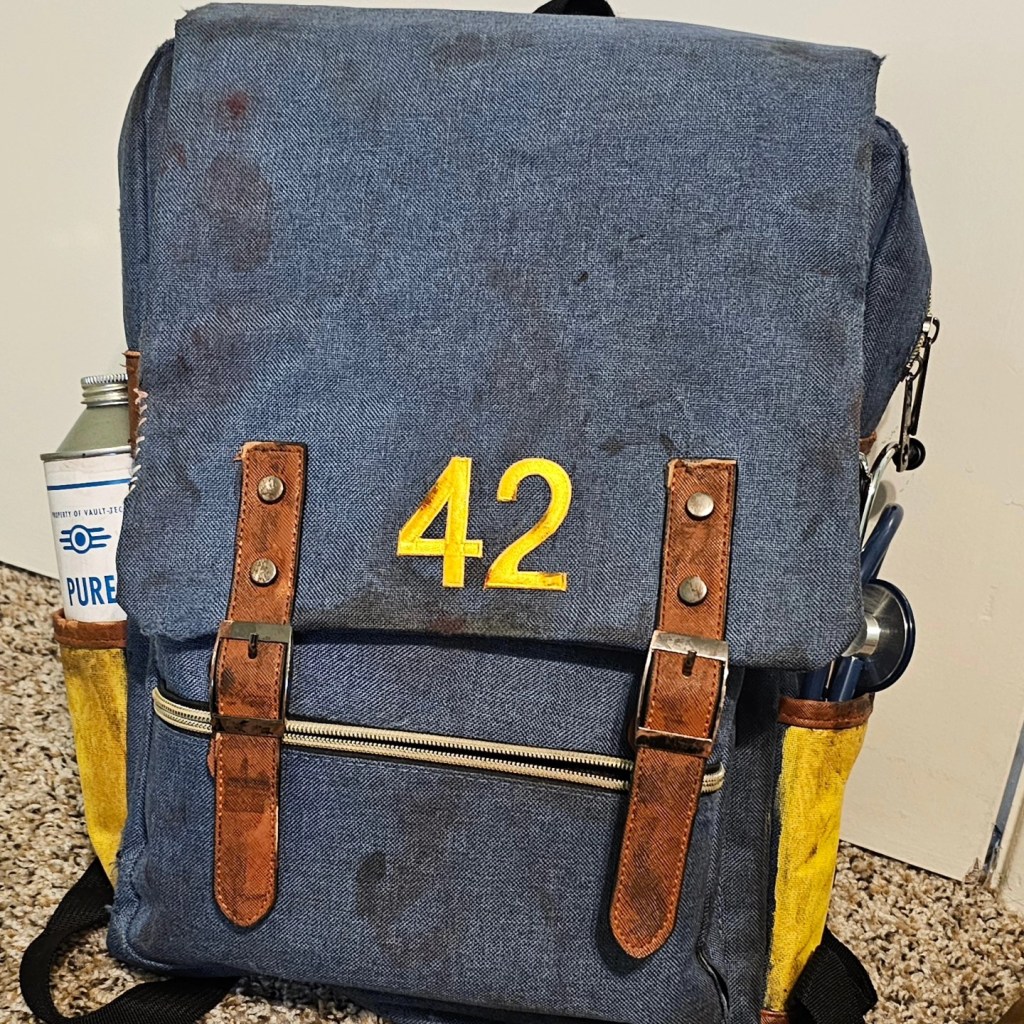
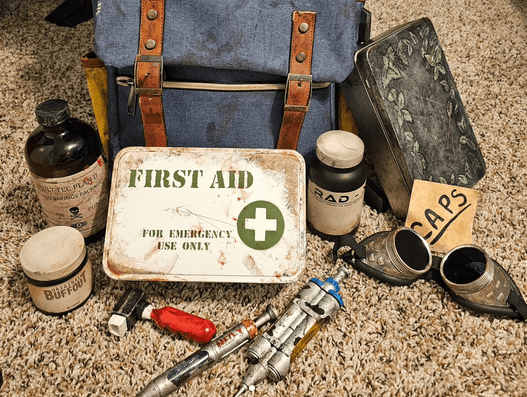
The backpack and medical supplies took up most of the time for this costume! The backpack itself is one I bought of off Amazon and modified/weathered. I painted the side pockets yellow with fabric paint, and weathered using the Dremel and diluted acrylic paints. The med kit came from Etsy and included the chems in the listing. I weathered the tin itself to make it look a bit rusty and bloody. I got the Buffout and Rad-X from another seller, and they were already weathered.
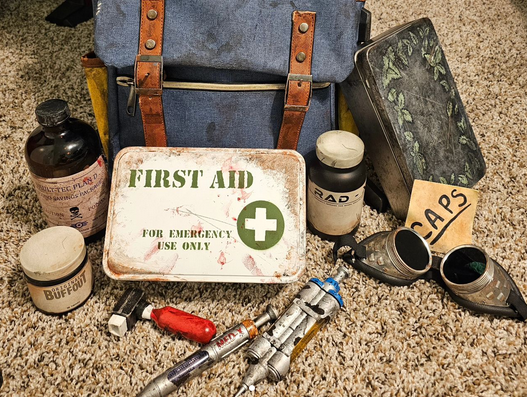
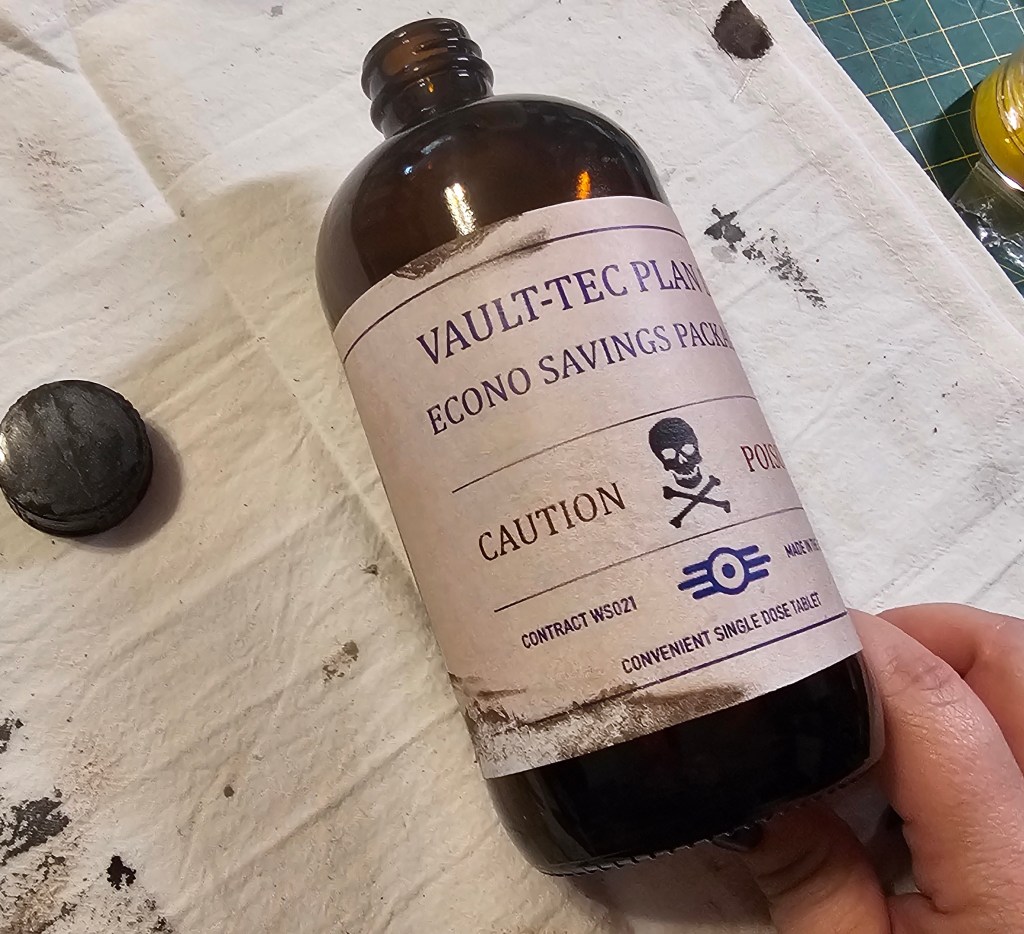
The Plan D was made using a bottle I got on Amazon and I created the label in Photoshop. I then weathered as I did with everything else. I also put banana candy in it, because why not? It was freaking hilarious. I also weathered a pair of old welding goggles and a cheap stethoscope to go with the kit, and for the watercan, I weathered a cone top can with the drinking water label. I also made a caps stash to hold swag and ribbons collected during the con. I used a blank tin box and painted the leaf design using reference images I found online. The CAPS was written on a post-it, and masking tape was used to mimic the stash in Fallout 4. The stash was then weathered using the Dremel, a freaking hammer, and MORE PAINT. Good lord my cutting table is now covered in so much paint spatter from all of the weathering. RIP IKEA table top.
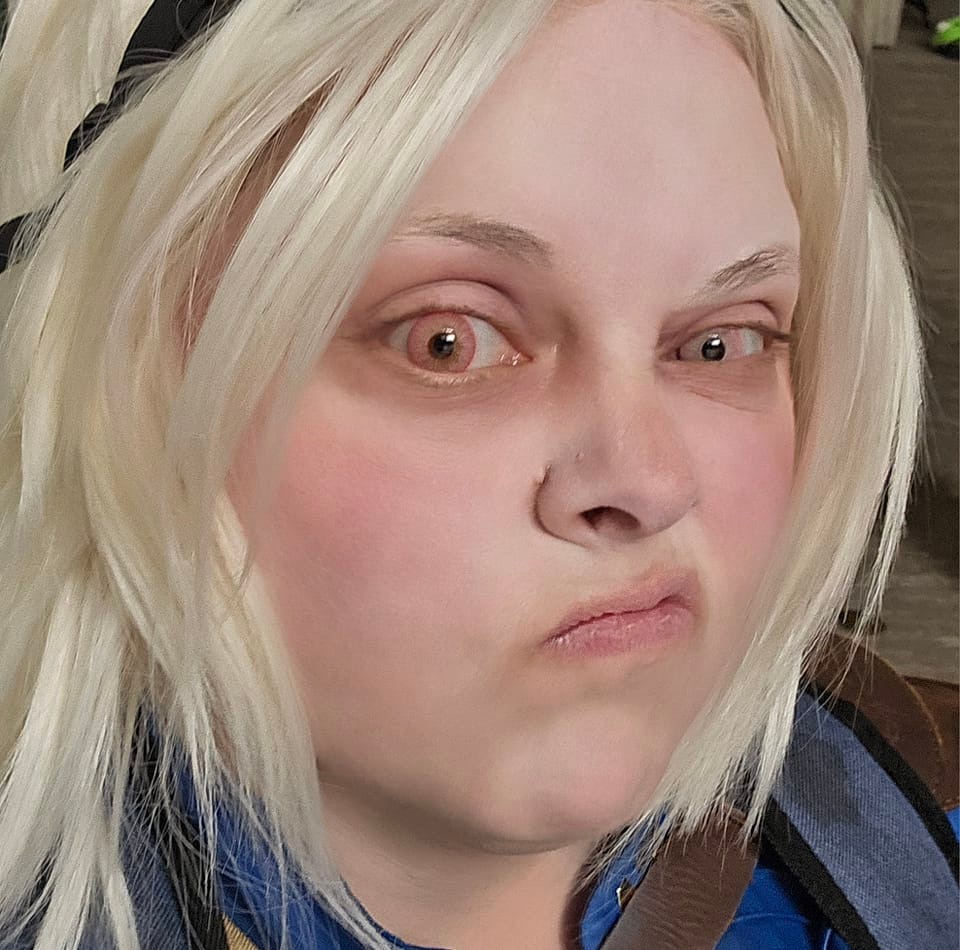
The wig and makeup are the same I use for my Live Moore iZombie cosplay. The loss of pigmentation and that makeup combo seemed to work perfectly. The only difference is that I did add some red to resemble a sunburn after being out in the Wasteland. The contacts are the Persona lenses in pink from Pinky Paradise. They ended up being lighter than I thought, which just added to the creepiness! I couldn’t have asked for a better result. They were also surprisingly comfortable, and are KFDA and ISO approved. I don’t play around when it comes to my eyeballs, and I actually ended up ordering four different colors of these particular lenses.
It is crazy to think of how much work went into this damned costume, but I am beyond thrilled with how it turned out! I will be wearing it for years to come, that’s for sure. I want to thank the Fallout Tacticians costuming group for all of their guidance, patience, and encouragement!
*Note: Some product links go to my Amazon affiliate link.
If you get a scraped knee or a stubbed toe, come see me. Same if you get shot in the face or burns all over,
but I can only promise so much.
Costume Photos
Progress Photos